Finding a sale in the history
- For
- Cashier, Manager
- Where
- Web register, Back office
- Permission
- Sell at the register, View reports
- Checked on
The sales history keeps every sale recorded by your registers. Use it to find a sale when a customer comes back with a receipt or a question: to read it again, print its receipt, return it or void it.
Before you start
- The Sales history screen opens with either of these permissions: Sell at the register or View reports. Without View reports, it only shows layaways.
- With View reports alone, you only see your own sales. To see every employee's sales, you also need All sales at assigned stores.
- A register must be chosen. The first time, the screen shows Choose a register: click your store's tab, then your register's tile (see Making a sale).
Finding a sale by its receipt number
This is the shortest way: the number is printed on the receipt, with its barcode.
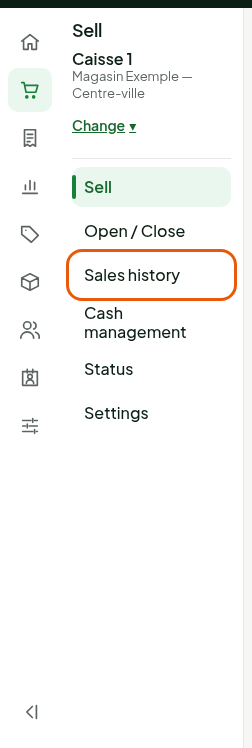
Open Sell > Sales history.
Stay on the All tab.
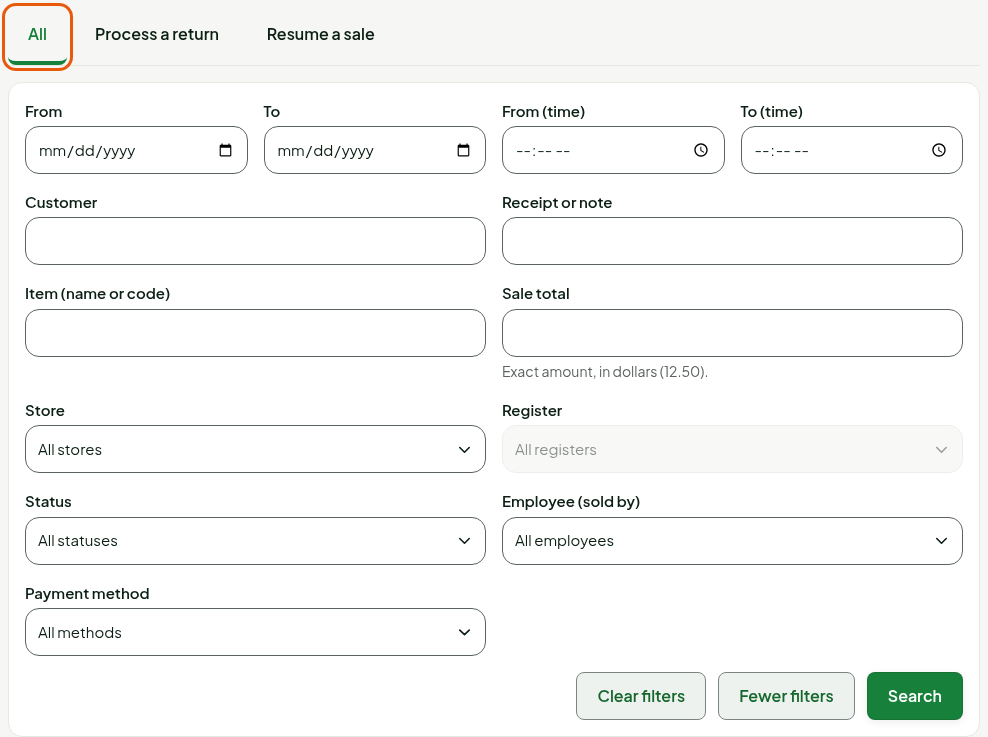
Type the receipt number in Receipt or note, or scan the receipt's barcode.
Click Search.
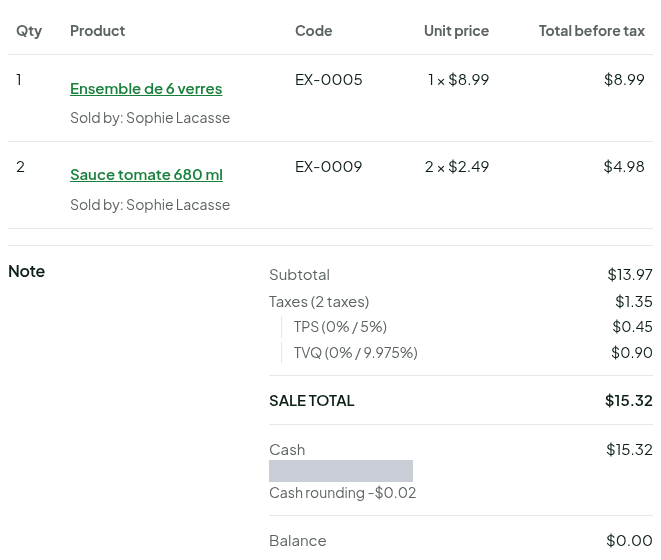
The sale appears in its own panel, above the list: its items, its taxes, its SALE TOTAL, its payments and its Balance.
To the right of the detail, the buttons act on this sale: Return items, Edit, Gift receipt, Email the receipt, Print receipt… and See the full sheet.
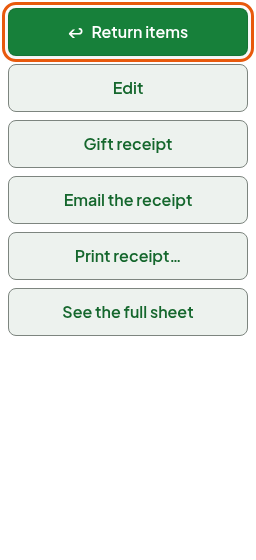
A paid sale is never edited. Edit only changes the sale's note or attaches a customer to it; the amounts, taxes and payments stay as they are. A wrong amount is corrected by a return, linked to the original sale (Returning items and refunding).
Searching with other criteria
Without a receipt number, combine the filters. The more you set, the shorter the list.
Open Sell > Sales history.
Fill in one or more filters: the period (From, To, From (time), To (time)), the Customer, Receipt or note (part of the number, or a word from the note), the Item (name or code), the Sale total (exact amount, like
12.50), the Store, the Register, the Status, the Employee (sold by) or the Payment method.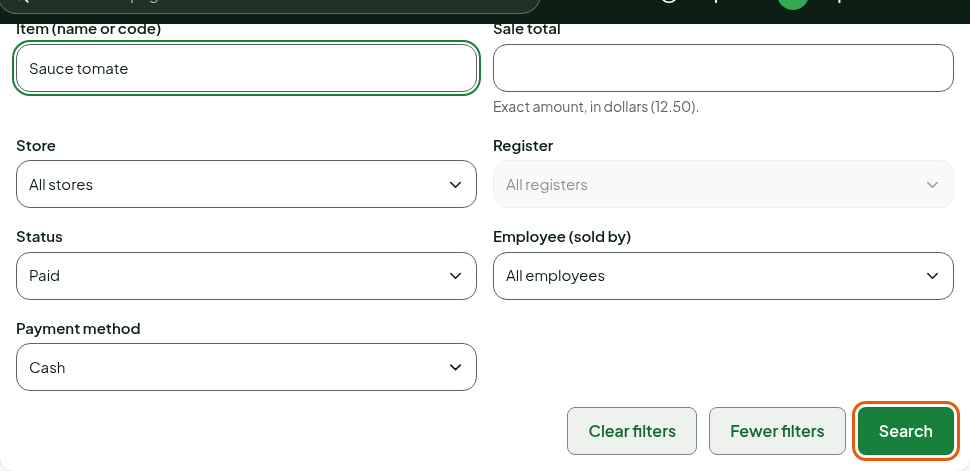
Click Search.
The Sales in the history list shows each sale's Receipt, Customer, Sold by, Note, Total and Status. Click the arrow to the left of the receipt number to unfold the detail, as above. Clear filters resets everything; Export the list produces a file of the sales shown.
Finding a sale to return
The Process a return tab runs the same search, but only offers the sales that can be returned: a voided sale is not listed.
Click the Process a return tab.

Find the original sale, then click Return items.
The rest is in Returning items and refunding.
Reading the list of all sales
If you read the reports, Sales > All sales shows the same list: same filters, plus the quick periods Today, Yesterday, 7 days and This month.
Open Sales > All sales.
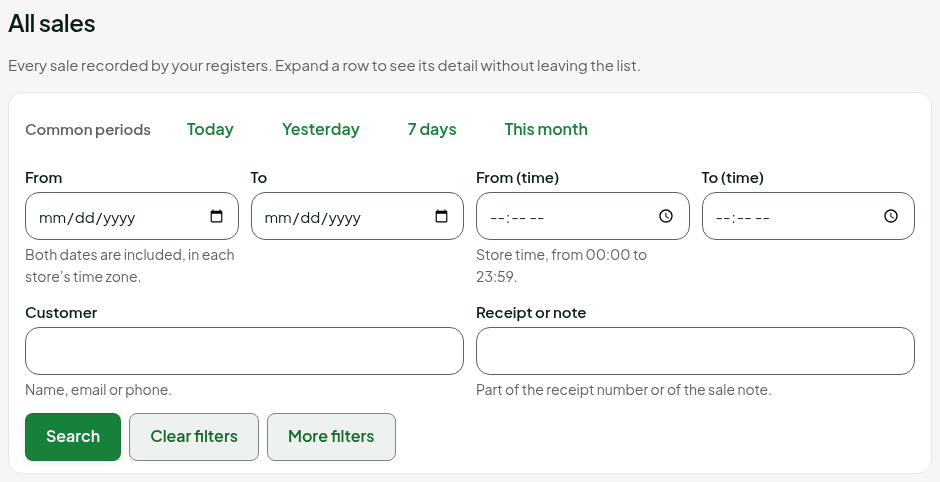
Click More filters for the other criteria, then Search.
Troubleshooting
"No sale matches these criteria."
No sale passes all the filters at once. Click Clear filters and start again with a single criterion.
A colleague's sale does not appear
Your role does not grant All sales at assigned stores: you only see your own sales. Ask a manager to look for it.