Getting started: your team
- For
- Administrator
- Where
- Back office, Installed register
- Permission
- Manage employee records, Manage roles, Manage register PINs
- Checked on
Each person who sells, clocks in or opens the back office has an employee record. Their record gives them roles, which say what they can do, and a PIN, with which they open their session at the register. This guide gives the recommended order: the roles, then the records, then the PINs. Each step points to the guide that details it.
Before you start
Have the list of your employees: their name, their store, their position (cashier, manager…) and, for those who will open the back office, their email.
Checking the roles
Three roles exist at the start: Administrateur (administrator), Gérant (manager) and Caissier (cashier). Create a role only when none fits a position on your team.
Open Team > Roles.
Click New role to create a role, if needed.
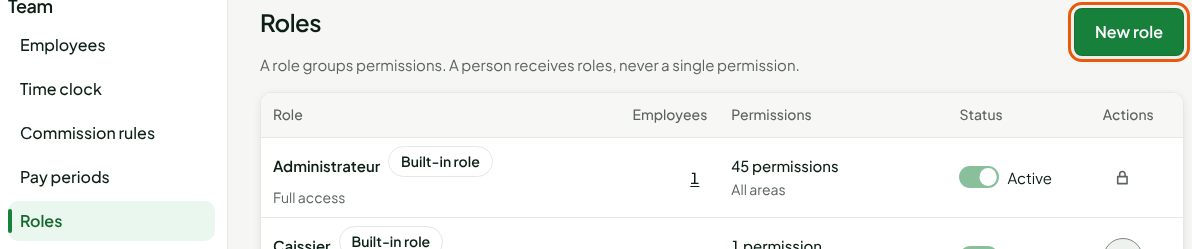
A role can also limit the discounts a person grants at the register. The guides: Creating roles and permissions and Understanding the administrator's rights.
Adding the employees
Open Team > Employees.

Click New employee.
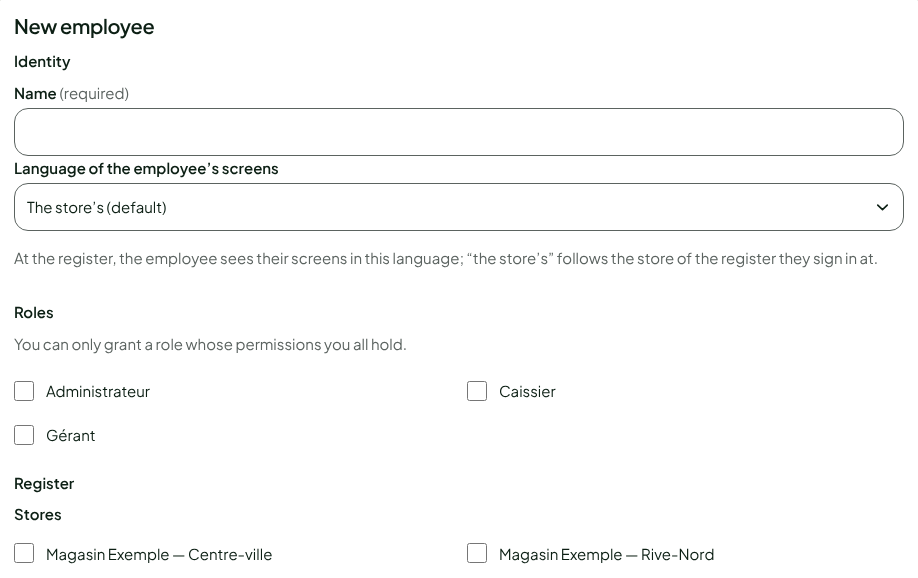
Type the name, check the employee's role and stores, then click Create employee. The optional Register PIN section of the form already gives the employee their PIN.
A role that gives access to the back office, such as Gérant, also asks for an email: the person receives there a link to choose their password. The guide: Adding an employee.
Giving each employee a PIN
A record created without a PIN has none: the list shows To set, and the employee cannot open a session at the register. To give them one:
- Open Team > Employees, then click Edit on the employee's row.
- Click Set PIN, in the Register PIN section.
- Type the PIN in New PIN and in Confirm PIN, then click Set PIN.
The section shows PIN set. A PIN can never be read back: if it is forgotten, reset it, then give a new one.
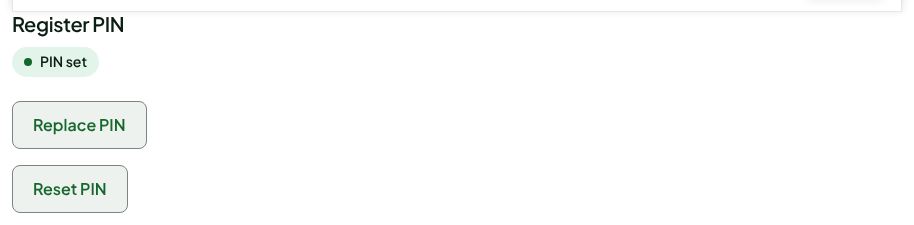
The registers receive the PIN at their next synchronization. The guide: Setting or resetting an employee's PIN.
Setting up the time clock and commissions
If your employees clock in at the register or earn commissions, the Team section also has Time clock, Commission rules and Pay periods.
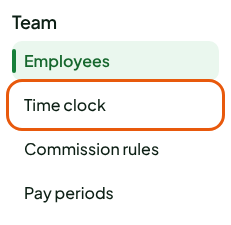
The guides: Clocking in and out at the register, Correcting hours and Setting up commissions.
What the employee sees at the register
At the installed register, the employee chooses their name, types their PIN, then presses Open the session. The PIN is never shown on the screen.
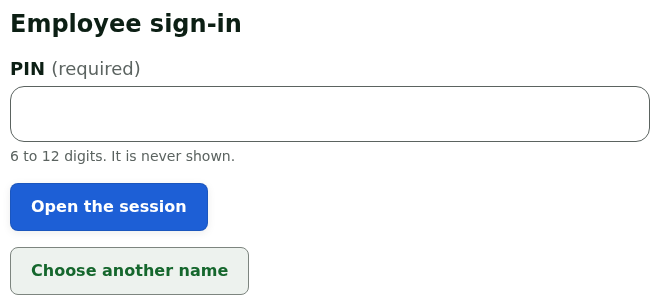
The guide: Signing in to the register with your PIN and switching employees.