Adding or editing a store
- For
- Administrator
- Where
- Back office
- Permission
- Manage stores and settings
- Checked on
Each store has its own record: its name, its local time, its address, its contact details, its taxes and its registers. Add a store when you open a new location, then edit its record when something changes.
Before you start
- Your role needs the permission Manage stores and settings.
- Have the store name at hand and, if you want to enter it, its address.
Adding a store
Open Settings > Stores and registers.

Click Add a store.

In Name, type the name of the store.
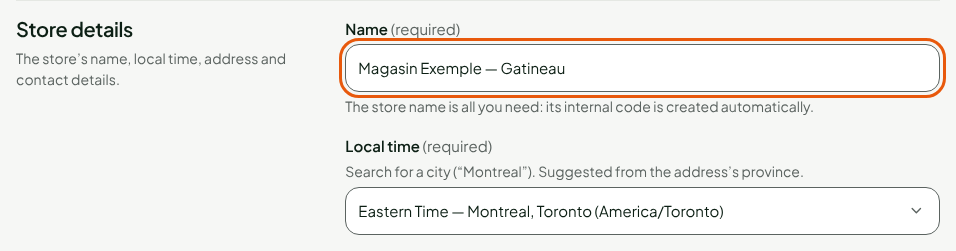
The name is enough: the store's internal code is created on its own. Local time suggests your business's own; to change it, type the name of a city (see Setting a store's local time).
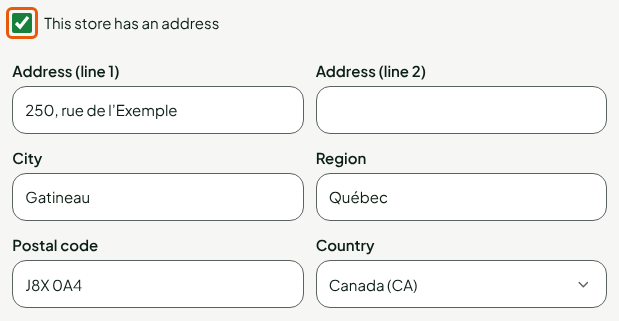
Check This store has an address, then fill in Address (line 1), City, Region, Postal code and Country.
In the Advanced part, find Country or province. It is suggested from the address; without an address, type a name, for example
Québec, and choose it in the list.
Click Create the store.
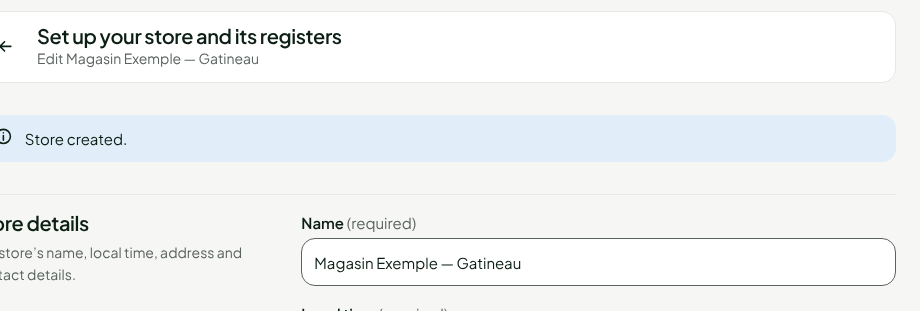
The store's page opens under the title "Edit Magasin Exemple — Gatineau" and shows "Store created."
The new store has no register and no tax yet: the list shows "No tax configured" and zero registers. Its taxes are set in Settings > Taxes (see Setting up taxes); its registers, in the Registers section of its record (see Adding a register to a store).
Editing a store
In the list under Settings > Stores and registers, click the pencil in the Edit column, in the store's row.

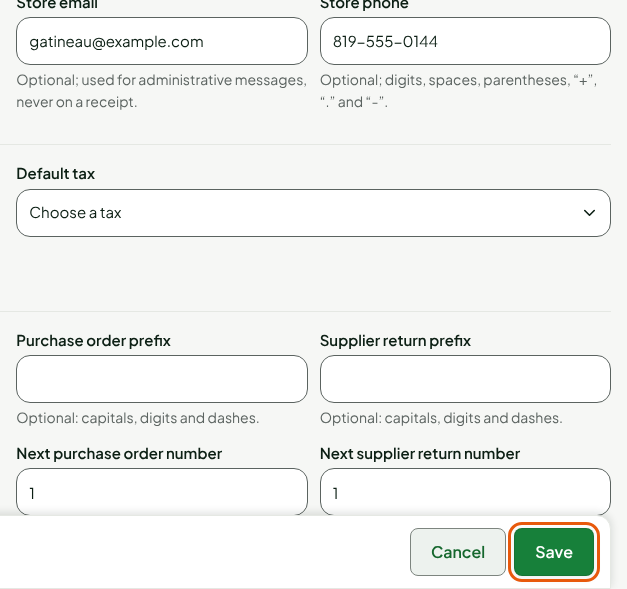
Change what needs changing. For example, in Store details, fill in Store email and Store phone.
Click Save, at the bottom of the page.
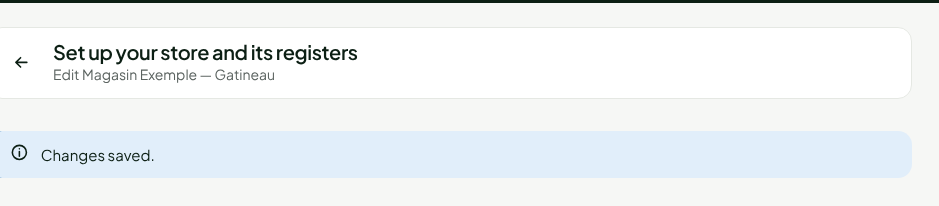
The page shows "Changes saved."
What the record contains
| Section | What it sets |
|---|---|
| Store details | The name, the local time, the address, the email and the phone. |
| Taxes | The store's default tax. Past sales keep the tax they received. The taxes themselves are set in Settings > Taxes. |
| Orders and returns | The numbering of purchase orders and supplier returns, shared by all stores. |
| Sales screen | Two register warnings that never block a sale: negative stock (see Understanding negative stock), sale without a customer. |
| Tax exemption | The taxes removed from a sale on presentation of a certificate of Indian status (Kahnawake measure). |
| Registers | The store's registers. |
| Advanced | The store code (read only), the country or province, the default language, the receipt template, the legal name, the tax registrations, the cash approval threshold and the status. |
Troubleshooting
"Correct the highlighted fields."
A field is refused: the message appears under it. Most often Name is empty, or Country or province is not chosen from the list. Fix it, then click Create the store or Save again.
"This data changed since it was read. Nothing was overwritten…"
Someone else saved this store while you were editing it. Click Reload the data: your unsaved changes are replaced by the saved version. Make them again.
"Your role does not allow managing stores."
You are missing the permission Manage stores and settings. Ask an administrator to grant it to you.