Showing loyalty on the receipt
- For
- Administrator
- Where
- Back office
- Permission
- Manage stores and settings
- Checked on
The receipt can tell the customer how many points the sale earned them and where their balance stands, or invite a customer without a record to sign up with a QR code. These choices are made in the store's receipt template.
Before you start
- The loyalty program must be active: with no program in effect, the receipt shows no loyalty block, and no "0 points earned".
- The loyalty settings are part of the receipt template: the other sections of the page (logo, texts, links) are set in the same place.
Open a receipt template
To create a template, or edit one:
Open Settings > Stores and registers, then the Receipts tab.
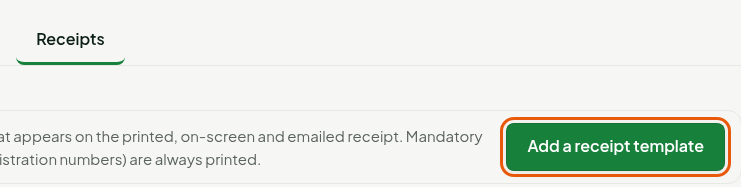
Click Add a receipt template. To edit an existing template, click its pencil (Edit the template followed by its name).
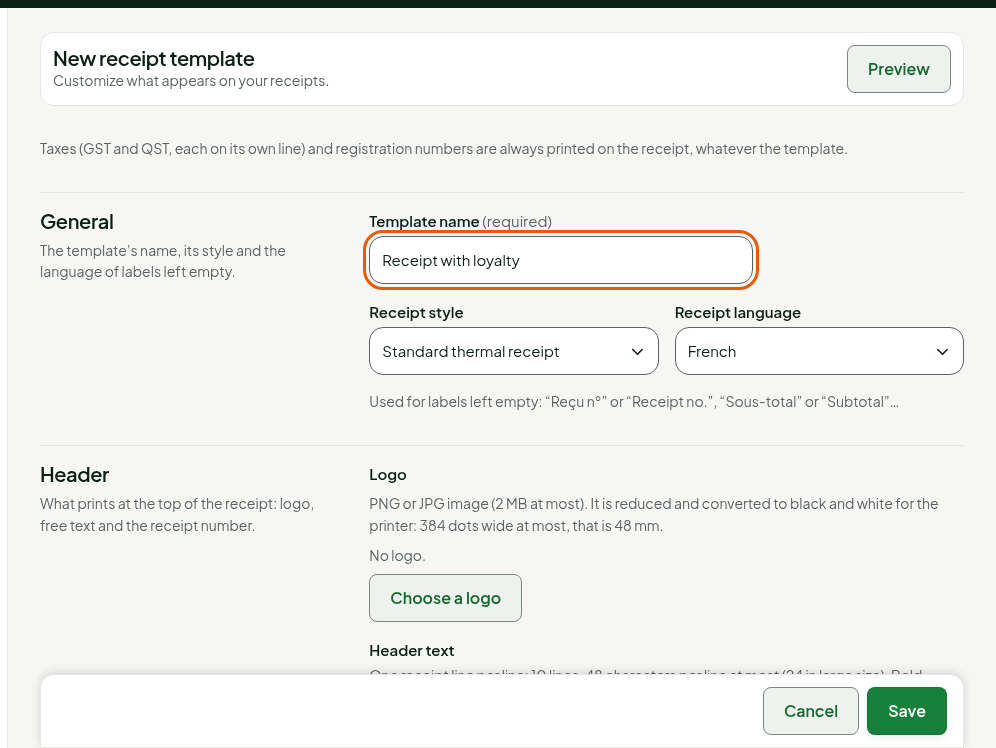
For a new template, type its Template name. The loyalty settings are in the Customer, Totals and Footer sections.
Set up loyalty
The loyalty block
In the Customer section, the Show the loyalty block at the bottom of the receipt box is checked by default. The block gives the points earned by the sale, the points used if any, and the balance after the sale. Offline, at the installed register, the receipt says "Balance updated at next sync" instead of a figure.
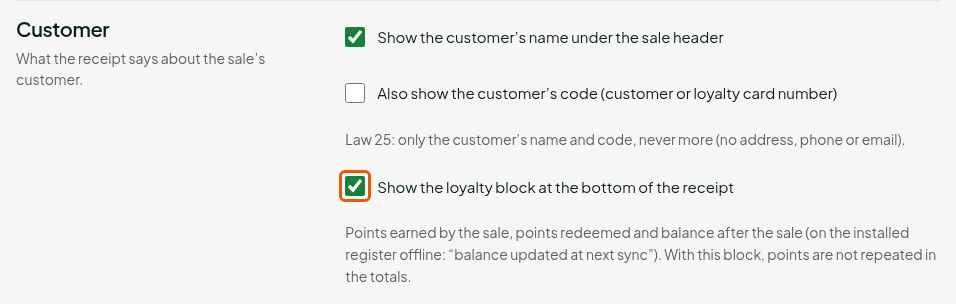
The Show the customer’s name under the sale header box shows the customer's name; Also show the customer’s code (customer or loyalty card number) adds their code or card number, never their address, phone number or email.
The points earned line
In the Totals section, check Show points earned to add a points line among the totals, then type its Points earned label; left empty, the usual label is used.
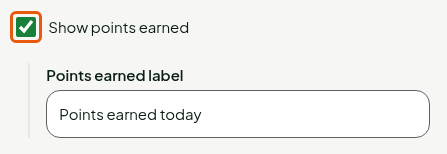
This line is not repeated when the loyalty block is shown: it is useful if you clear the block.
The sign-up QR code
In the Footer section, check Show a loyalty sign-up QR code. Type the Sign-up address (https) of the page where the customer signs up, then a Message above the QR code.
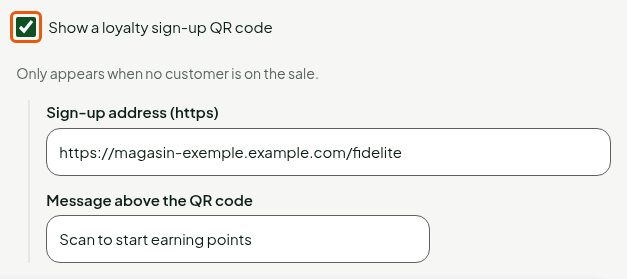
The QR code appears only on sales without a customer. It sends the customer to the address you typed; the sign-up itself happens there, not in Braavu POS.
Save
Click Preview to see the receipt as these settings produce it.
Click Save.
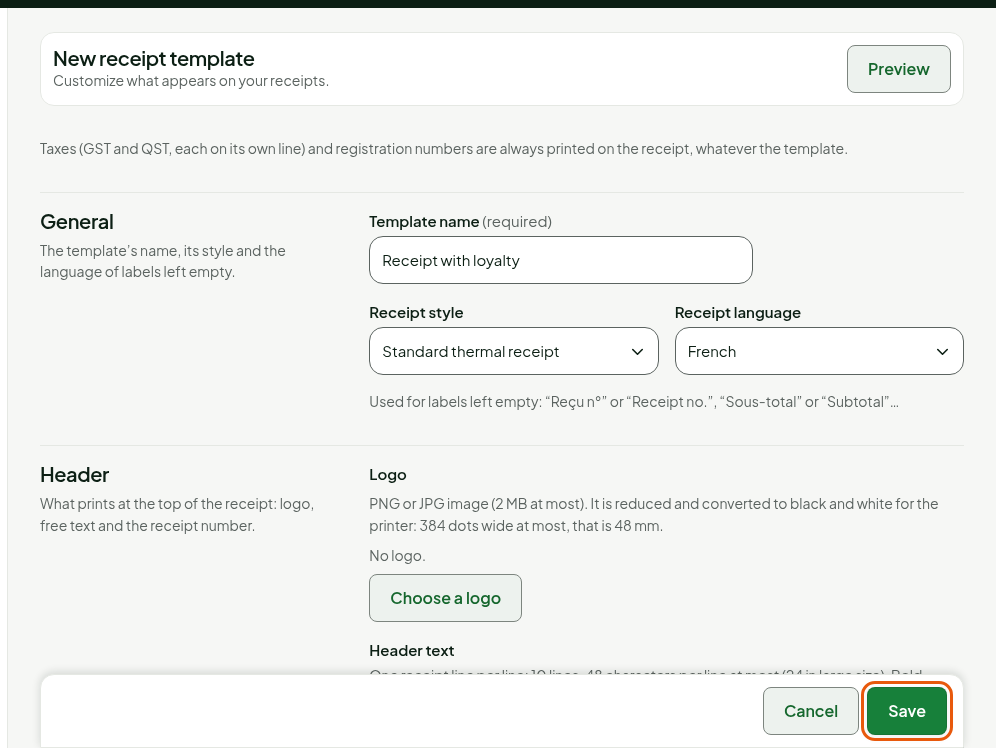
The message Template created. (or Template saved.) appears. The template serves a store only once it is chosen for it.
The QR code is not printed on the emailed receipt: the email keeps the receipt's text, without images.
Troubleshooting
The receipt has no loyalty block
Three causes: the customer is not on the sale, the loyalty program is not in effect, or the Show the loyalty block at the bottom of the receipt box is cleared.
The QR code does not appear
It appears only with no customer on the sale. If it is missing on those sales too, check that the box is checked and that the address starts with https.