Getting started: your catalog and opening stock
- For
- Manager, Administrator
- Where
- Back office
- Permission
- Manage the catalogue, Manage prices, Run an inventory count, Adjust stock
- Checked on
Before the first sale, the register must know your products, and each store its stock. The recommended order: the products, one by one or from a file, then the count of each store's opening stock, then the register's quick keys. Each step points to the guide that details it.
Before you start
- First set up the taxes and their classes: each product chooses one (Getting started: your business settings).
- If you group your products by category, create the categories before the products (Managing categories).
Adding products one by one
Open Catalog > Products.

Click New product.
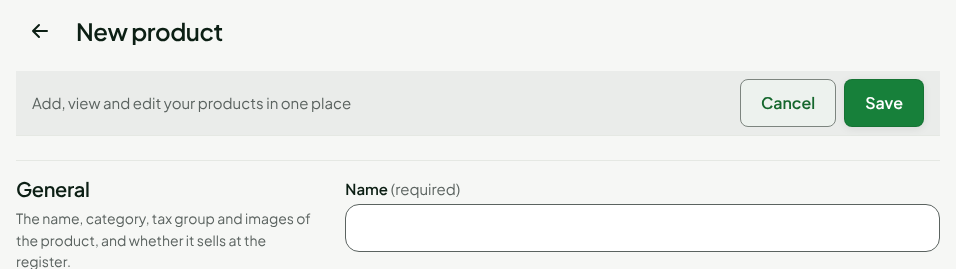
Fill in the record: name, item code, tax class and price, then click Save.
The product sells right away in each store where it has a price. The steps: Adding a product. A product in sizes or colors is created differently: Adding a product with variants.
Importing many products at once
Open Catalog > CSV import and export.
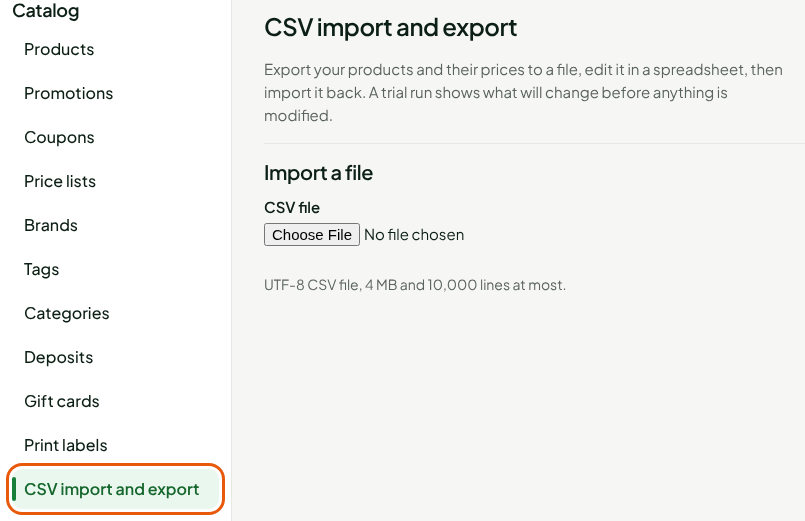
Choose your CSV file, read the trial run, then apply the import.
The trial run changes nothing: it shows what will be created, modified or refused. The guides: Preparing a CSV file in Excel and Importing products from a CSV file.
Counting the opening stock
A new product has no stock. The opening stock of each store is set by a full count: when it is closed, the stock of each counted item becomes the counted quantity.
Open Stock > Inventory counts.
Click Open a count (Start a first count the first time).

Have the store counted on the phone, then finish the entry and close the count.
The guides: Running a full count and Counting on a phone. For a few items only, an adjustment is enough: Adjusting stock.
A closed count can no longer be changed. A mistake is corrected by an adjustment, which is added to the item's history.
Checking the stock
Open Stock > Inventory.

Choose the store in Store, then click Show.
The list gives the quantity on hand of each item in that store. The guide: Viewing stock levels and movements.
Preparing the quick keys
Quick keys are the tiles of the sale screen: one tap adds the item to the cart.
Open Sell > Settings.
Click Add a template, under Quick keys.

Build the template, then assign it to your stores.
The guide: Setting up quick keys.