Setting up the receipt template
- For
- Administrator
- Where
- Back office
- Permission
- Manage stores and settings
- Checked on
A receipt template decides what appears on the printed, on-screen and emailed receipt: header text, totals labels, footer text. You create a template, then choose it for a store.
Before you start
- Have at hand the text to print at the top and bottom of the receipt, and the logo if you want one (a PNG or JPG image of 2 MB at most).
- The store must exist (see Adding or editing a store).
Mandatory mentions are always printed, whatever the template: each tax on its own line, with the registration numbers, and the store's name and address. A template removes none of them.
Adding a receipt template
Open Settings > Stores and registers, then click the Receipts tab.
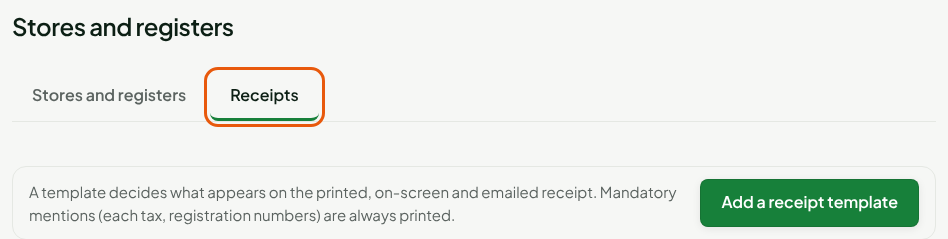
Click Add a receipt template.

Type the template's name in Template name, under General, for example
Counter receipt. Then choose the Receipt style and the Receipt language: it is used for the labels you leave empty ("Reçu n°" or "Receipt no.").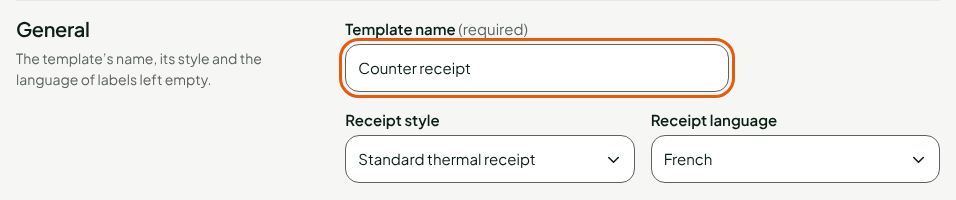
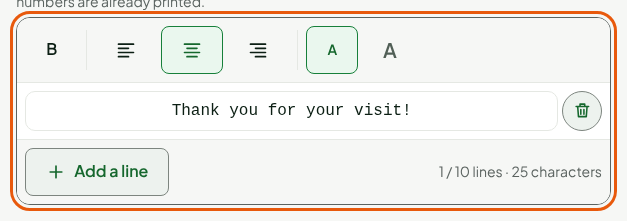
Under Header, type the Header text, one receipt line per line: 10 lines, 48 characters at most (24 in large size). The toolbar sets bold, alignment and size for the line you are on. Choose a logo adds an image.
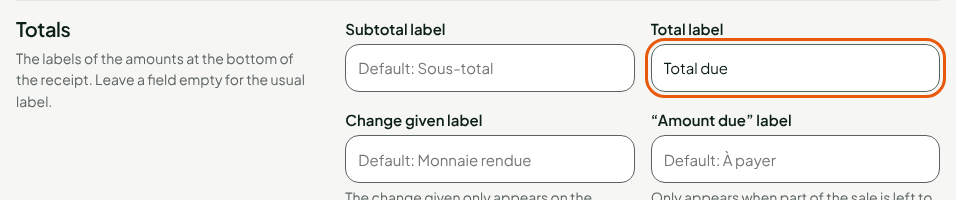
Under Totals, change a label, for example Total label. A field left empty keeps the usual label.
Under Footer, type the Footer text, the same way as the header.
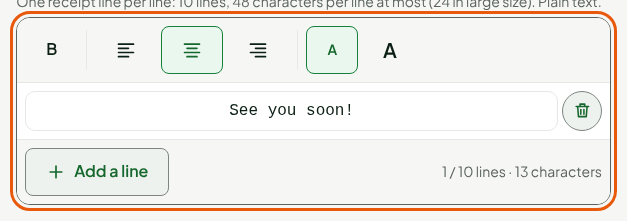
If needed, set the other sections:
- Lines: how each item is shown (name, code or both) and the tax on each line.
- Customer: the customer's name, and their code. Never more: no address, phone or email.
- Footer: a loyalty sign-up QR code, up to 3 links with their QR code, the receipt number barcode.
- Emailed receipt: the Email subject.
Click Preview to see the receipt of a fictitious sale. The preview follows what you typed, even unsaved.
Click Save.
The screen shows "Template created." and the template appears in the list.

Choosing a store's template
A template only applies to a store once it is chosen for it.
Open Settings > Stores and registers, then click the pencil in the Edit column, in the store's row.
Expand the Advanced section.
Choose the template in Receipt template.

Click Save.
The store's next receipts use this template. A register can print a different template than its store's: its settings also have a Receipt template list.
Archiving a template
A template is never deleted. In the Receipts tab, click Archive in its row; Restore puts it back in service.
A template that an active store still uses cannot be archived: the row shows "Used by 1 active store: choose another template for that store before archiving it." First choose another template for that store.

Troubleshooting
"One field needs fixing."
A field of the template is refused: the screen points it out. For example, a link address must start with https://.
"This template changed since it was read."
Someone changed the template at the same time. Nothing was overwritten: read the template again, then start over.