Getting started: your business settings
- For
- Administrator
- Where
- Back office
- Permission
- Manage stores and settings
- Checked on
Before the first sale, your business needs its settings: its name and time zone, its stores and their registers, its taxes, its payment methods, its receipt and the security of sign-ins. This guide gives the recommended order. Each step points to the guide that details it.
Before you start
- Have at hand the address of each store, your tax registration numbers (GST, QST…) and the rate of each tax.
- Make these settings before adding products: each product chooses a tax class, created at the taxes step.
Setting up the business
Open Settings > General.
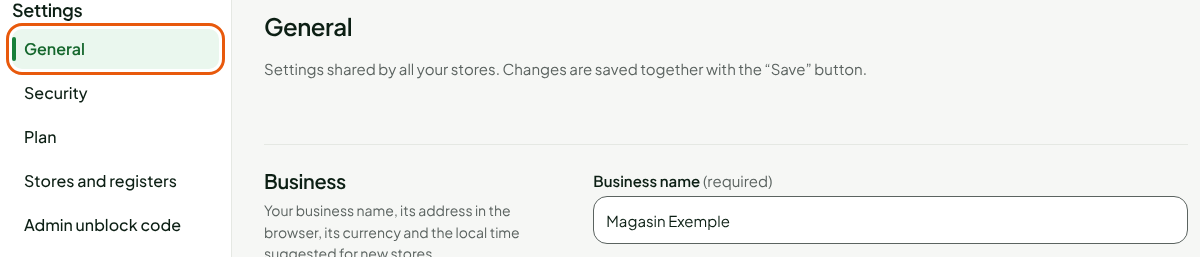
Fill in Business name, Default time zone and the Contact details, then click Save.
The default time zone is offered to each store you add afterwards. The details of the fields: Setting up your business's general information.
Adding the stores and their registers
Open Settings > Stores and registers.

Click Add a store, and create each store with its name and its address.
Add each store's registers in its record: one per counter.
Check the local time of each store: it sets the start and the end of its days. The tax registration numbers printed on receipts are entered here too. The guides: Adding or editing a store, Setting a store's local time and Adding a register to a store.
Setting up taxes
Open Settings > Taxes.

Add your taxes, then the product tax classes, then check the taxes of each store.
The registers then calculate taxes on their own, sale by sale. The steps: Setting up taxes.
A new store has no tax until you check them in Settings > Taxes. Set them up before its first sale.
Choosing the payment methods
Open Settings > Payment methods.

Review the methods offered and their order. Click New payment method to add one.
Without a payment method, the registers cannot take payment. The guide: Setting up payment methods.
Setting up the receipt
Open Settings > Stores and registers.
Click the Receipts tab.

Create your business's receipt template, then choose it for each store.
The template decides what is shown on the printed receipt, on screen and by email. The guide: Setting up the receipt template.
Protecting sign-ins
Open Settings > Security.

Click Turn on two-step sign-in for your own account.
Choose what is asked at sign-in for each role.
Turn on your own two-step sign-in before requiring the code for a role that is yours: otherwise the screen refuses to save. The guide: Setting up account security.