Setting up your business's general information
- For
- Administrator
- Where
- Back office
- Permission
- Manage stores and settings
- Checked on
The General screen gathers the settings shared by all your stores: the business name, its default time zone and its contact details. Fill it in when you set up, then again whenever one of these changes.
Before you start
- Your role needs the permission Manage stores and settings.
- Have at hand the business name, the contact person with an email and a phone number, and the business address.
Setting the name and the time zone
Open Settings > General.

In Business name, type the name of your business.
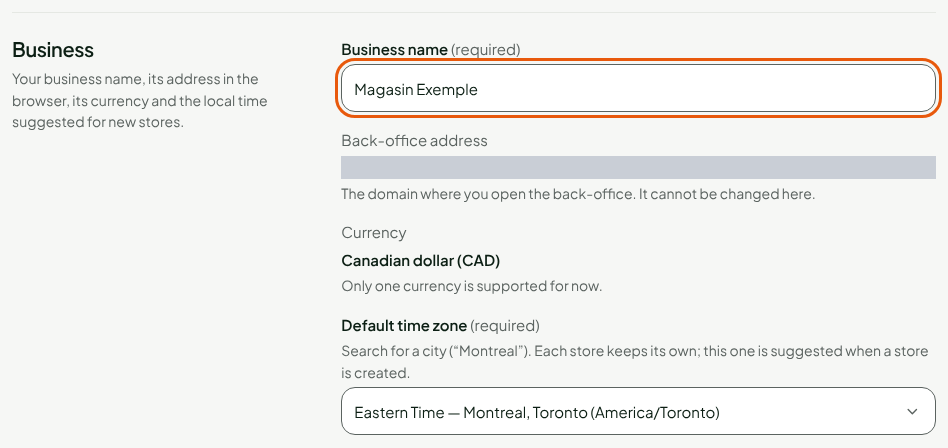
In Default time zone, type the name of a city, for example
Montréal.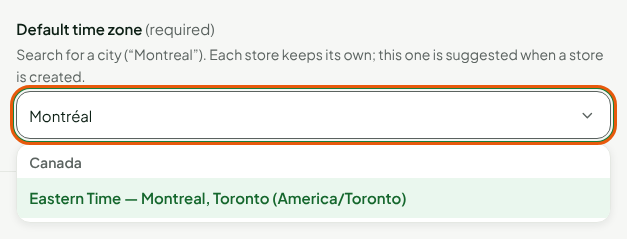
Choose the time zone in the list.
Nothing is kept yet: everything is saved together, in the last step.
The back-office address and the currency are shown, but cannot be changed here. The default time zone is only suggested when you add a store: each store keeps its own time zone (see Setting a store's local time).
Filling in the contact details
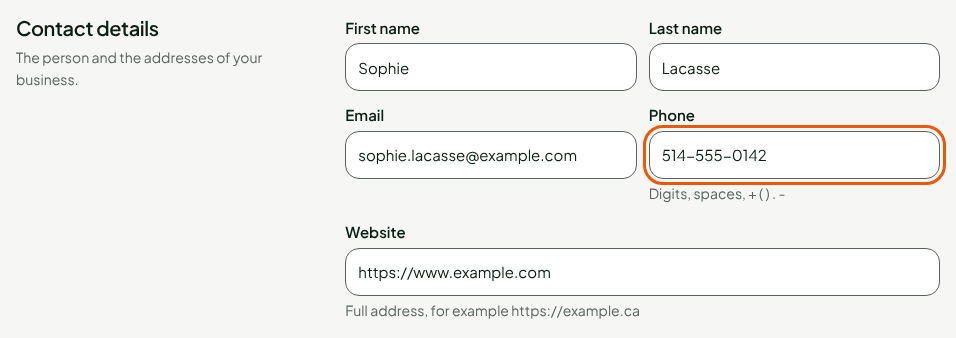
In the Contact details section, fill in First name, Last name, Email, Phone and Website.
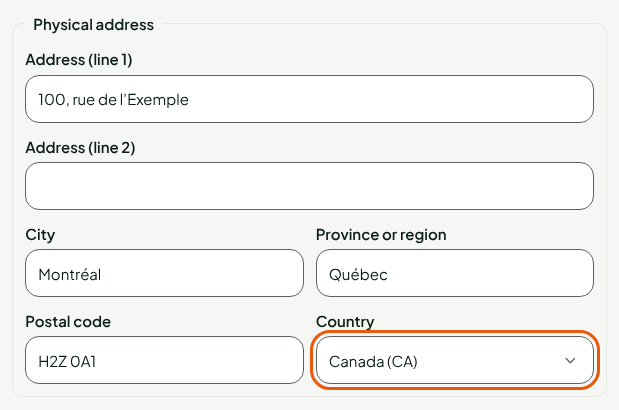
Under Physical address, fill in Address (line 1), City, Province or region, Postal code and Country.
The Phone takes 7 to 15 digits, and the Website a full address that starts with http or https. If your mailing address differs from the physical address, check Different mailing address: a second box opens.
Saving
Click Save, at the bottom of the page.
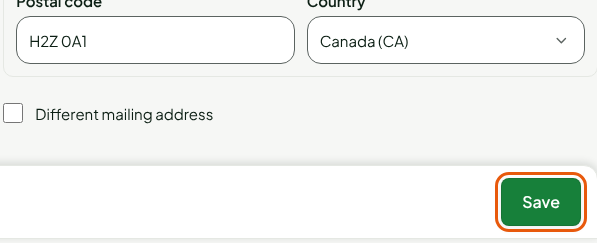
The screen shows "Settings saved." under the page title.

A single Save button covers the whole page, including the sections this guide does not detail: Item codes and barcodes, Customers, Reading at the register and Manager approval.
Registration numbers
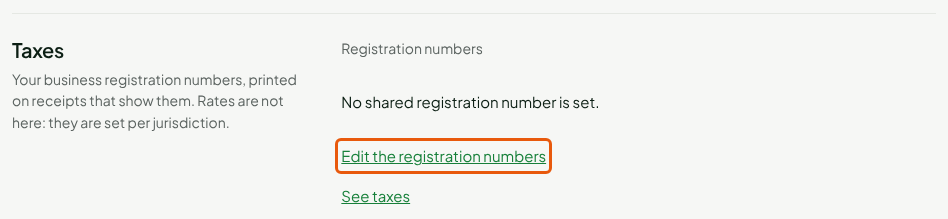
The Taxes section of the page lists your business registration numbers (GST, QST…), printed on receipts that show them. It does not edit them: the link Edit the registration numbers leads to Settings > Stores and registers, where they are entered. Tax rates are set in Settings > Taxes: see Setting up taxes.
Troubleshooting
"Some fields need to be fixed before saving."
A field is refused: the error message appears under it. Fix it (invalid email, phone outside 7 to 15 digits, website without http), then save again. A half-filled physical address is refused too: "Incomplete address: the address, city, province, postal code and country are required."
"The settings changed since they were read. Reload them; nothing was overwritten."
Someone else saved this page while you were editing it. Click Reload the settings, then redo your changes: the other person's changes are kept, yours are not saved.
"You do not have permission to manage the settings."
Your role does not have the permission Manage stores and settings. Ask an administrator to grant it to you.