Choosing the period and the stores of a report
- For
- Manager
- Where
- Back office
- Permission
- View reports
- Checked on
Every report is read over a period and for one or more stores. Both choices work the same way in almost every report: a Period field and a Stores field. The examples in this guide use the Payments report.
Before you start
Your role needs the View reports permission. The list of stores only offers the stores you have access to.
A choice of period or stores only counts after you click Show report. Until you click, the table on screen keeps the previous choice.
Choosing a period
To read a report over a ready-made period:
Open Reports > Payments.
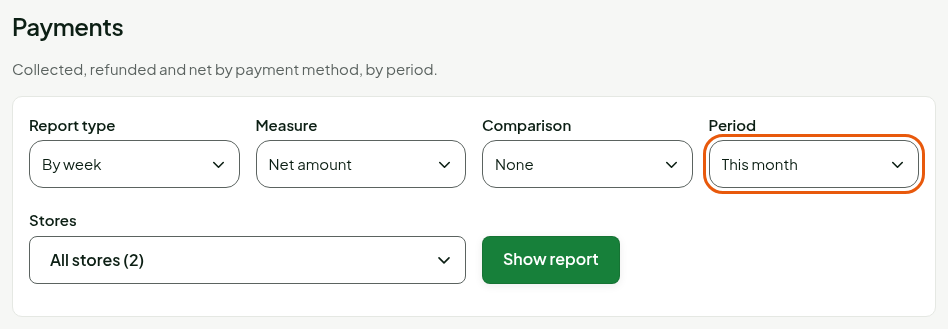
Choose the period under Period: Today, Yesterday, Last 7 days, This month, Last month, This quarter, Last quarter, This year or Last year.
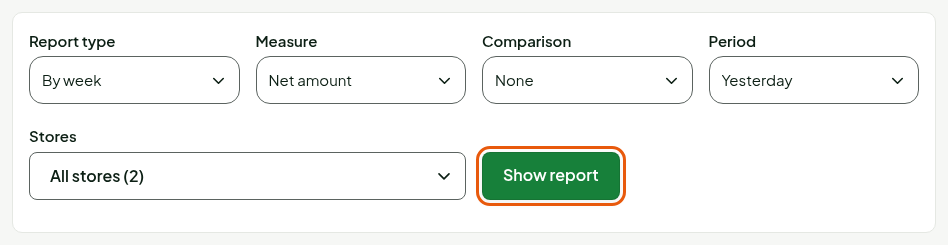
Click Show report.
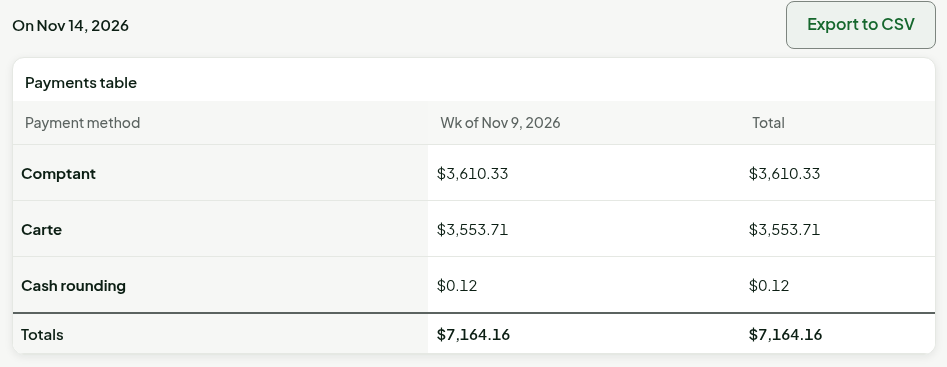
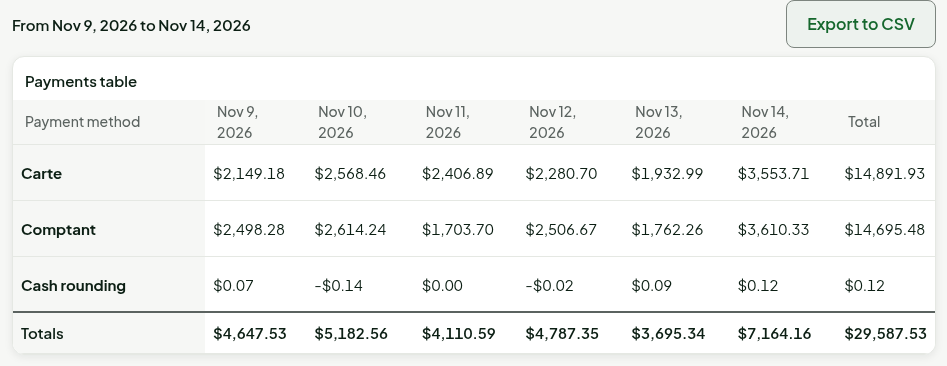
A line above the table recalls the period that was read. For a single day, it says "On Nov 13, 2026".
The ready-made periods start from the day on your device. Each report opens on its own period: This month for Sales and Payments, Last 7 days for Cash movements, Last month for Taxes collected.
Choosing exact dates
To read a period that is not in the list:
Choose Custom under Period.
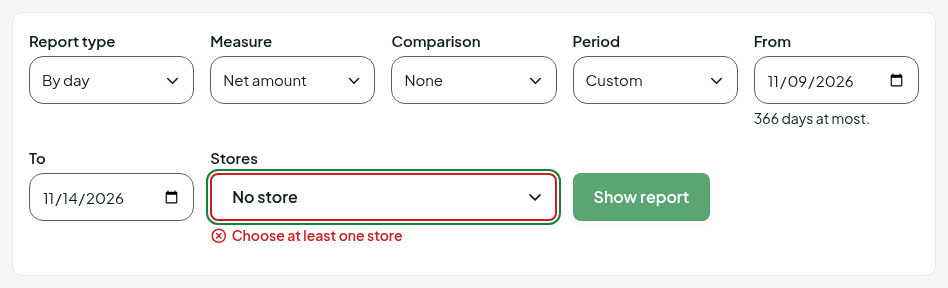
The From and To fields appear, filled with the dates of the period you had chosen until then.
Enter the first day in From.
Enter the last day in To.
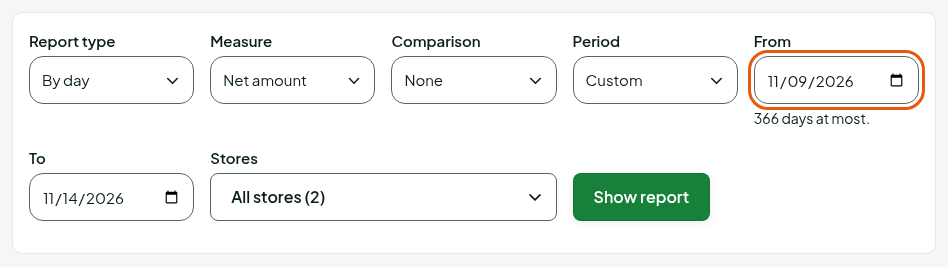
Click Show report.
Both days are part of the period. Here, Report type is set to By day: the table has one column per day, then a Total column.
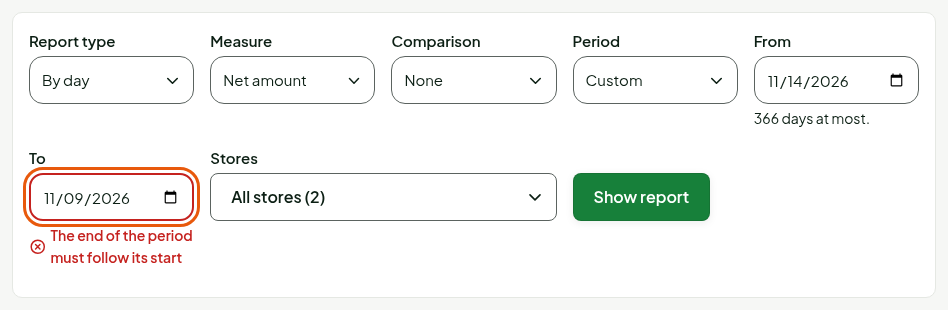
The period can be 366 days long at most. When the dates are not accepted, a message appears under the field and the report does not change:
- "Incomplete or invalid date";
- "The end of the period must follow its start";
- "Period of 366 days at most".
Choosing the stores
At first, the Stores field says "All stores" with the number of stores. To read a single store:
Click the Stores field.
Point at the store you want, then click Only this one.
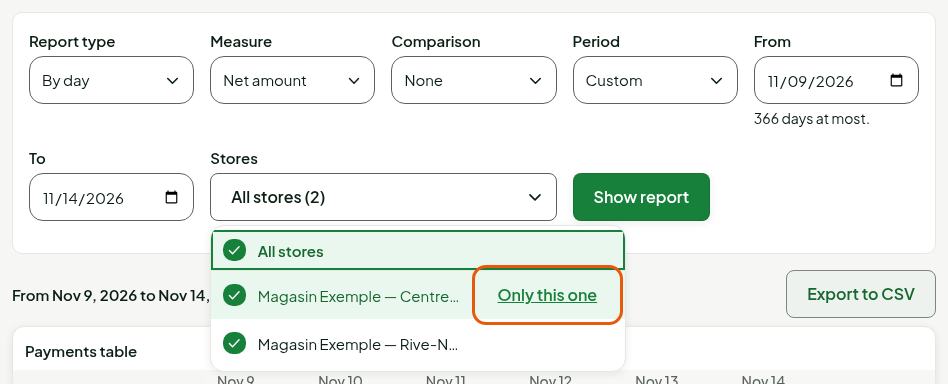
To choose several stores, tick them one by one. The All stores box ticks or unticks the whole list.
Click Show report.
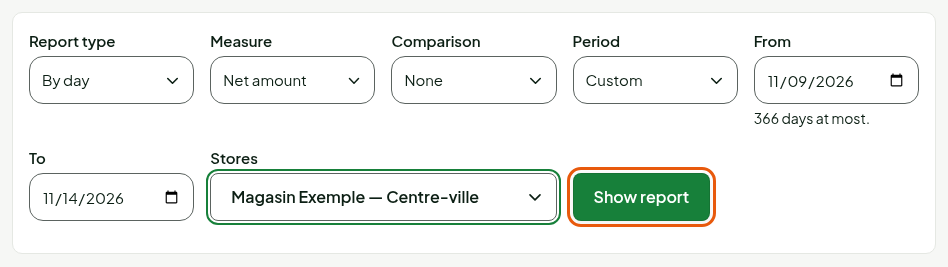
The field shows the name of the chosen store. With several stores, but not all of them, it says for example "2 of 3 stores". The table now counts only the chosen stores.
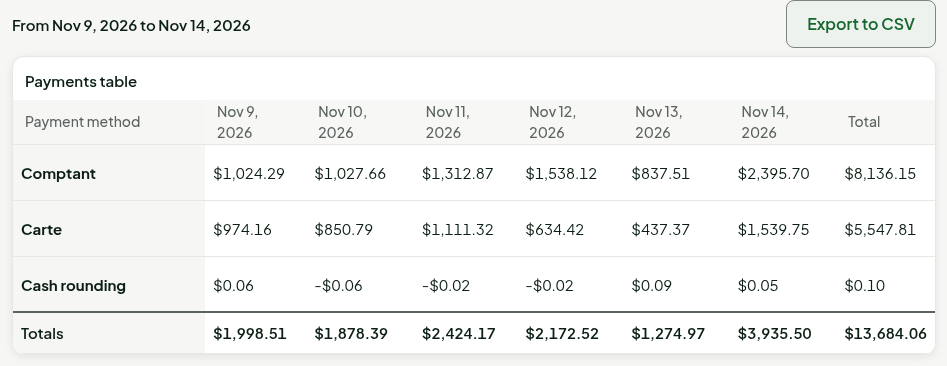
The total of all stores is the sum of the totals of each store. A store added later joins "All stores" without you having to tick it.
With the keyboard, the arrow keys move through the list, the space bar ticks or unticks, Enter chooses only the store under the cursor and Esc closes the list.
Reports without a choice of stores
- Gift card balances and Store credit balances always cover every store. Their page says so: "This report always covers every store."
- In Sales, the stores are under More filters. Click that button to see them.
- The Dashboard has its own Stores field, next to the period arrows (guide "Dashboard").
Troubleshooting
The "Show report" button is greyed out
No store is ticked. The field says "No store" and the message "Choose at least one store" appears under it. Tick a store or All stores.