Transferring stock between stores
- For
- Manager, Administrator
- Where
- Back office
- Permission
- Transfer between stores, Manage stores and settings, Adjust stock
- Checked on
A transfer moves goods from one store to another in two steps: the source store sends them, then the destination store receives them. In between, the goods are counted in no stock.
Before you start
- Your role needs the permission Transfer between stores. To pick the stores from a list, it also needs Manage stores and settings, and to search for items, Adjust stock. Without them, the screen asks for the store's identifier and that of each item: ask an administrator for them.
- The items must exist in the catalog, in the source store.
- To prepare the shipment or receive on the floor rather than at the office, see Transferring on a phone.
A transfer that is sent or received can no longer be edited, and only a transfer Being prepared can be cancelled. A mistake is fixed by an adjustment (Adjusting stock).
Creating the transfer
Open Stock > Transfers between stores, then click New transfer. If no transfer exists yet, the button is called Create a first transfer.

In Source store, choose the store the goods leave from.
In Destination store, choose the one that receives them. It must be different from the source.
In Reference, type a bin or slip number, if you want one. It is optional; do not put a person's name in it.
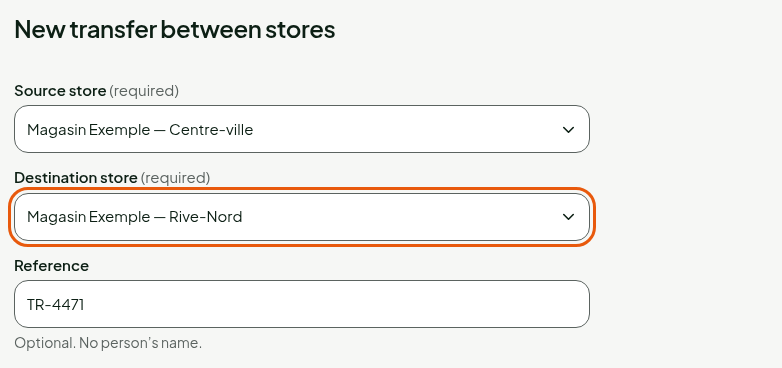
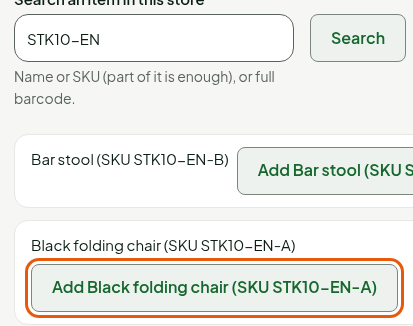
In Search an item in this store, type the name, the code or the full barcode, then click Search.
Click Add followed by the item's name. Repeat for each item.
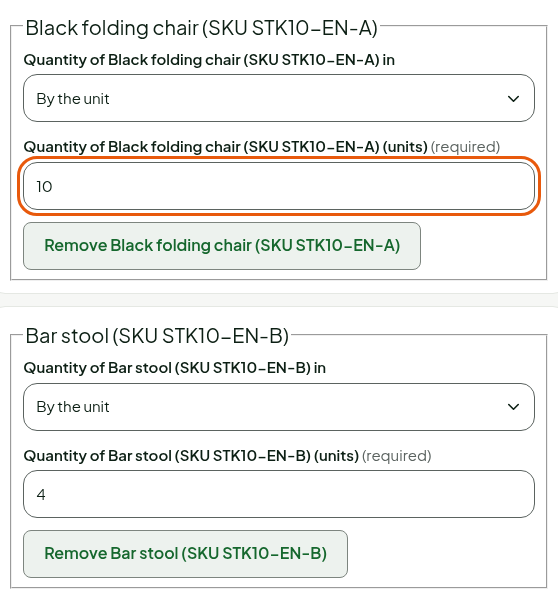
Type the quantity sent in Quantity of followed by the item's name, with (units). For an item sold by weight, first choose By weight (kg, to the gram) in the line's list. The quantity must be greater than zero.
Click Create the transfer.
The transfer opens with the status Being prepared. It does not touch stock: you can still send it, or cancel it with Cancel the transfer, then Confirm.
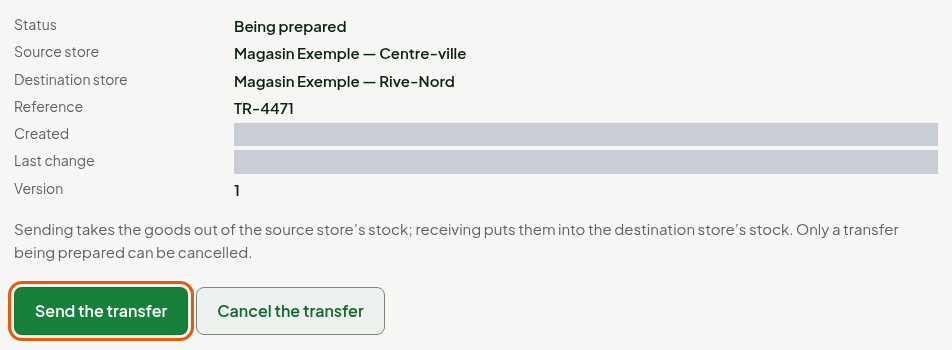
Sending the transfer
When the goods leave:
- Open the transfer, from Stock > Transfers between stores if it is no longer on screen.
- Click Send the transfer.
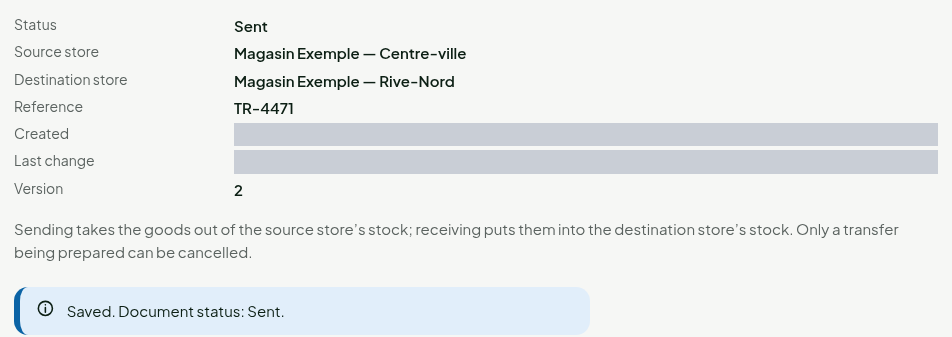
The screen shows Saved. Document status: Sent. Each line writes a Transfer sent stock movement in the source store: the source stock goes down right away.
Receiving the transfer
When the goods arrive at the destination store:
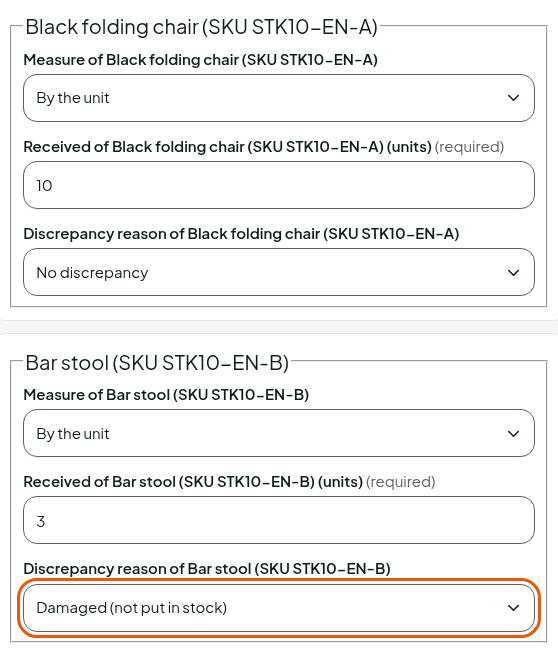
Open the transfer, with the Sent status. The Receipt at the destination store section proposes the quantity sent for each item.
Count the goods, then correct the quantity in Received of followed by the item's name, if it differs (0 if nothing arrived).
For each discrepancy, choose the Discrepancy reason: Missing, Damaged (not put in stock), Received in excess or Other.
Click Validate the transfer receipt.
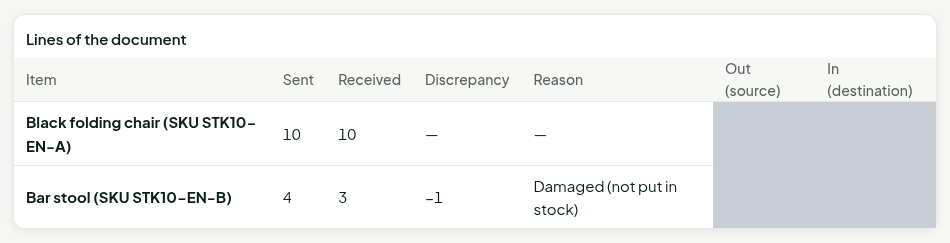
The transfer moves to Received. The Lines of the document table shows for each item the Sent, the Received, the Discrepancy and its Reason, with the movement number of the Out (source) and of the In (destination).
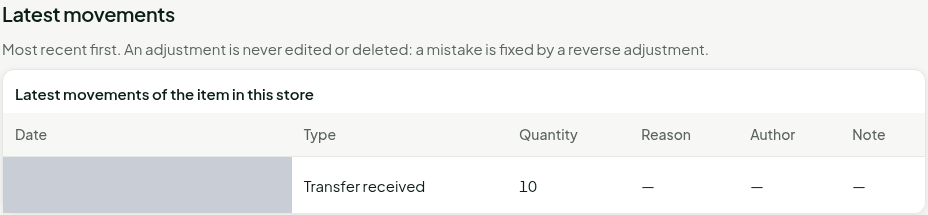
Each line received at more than 0 writes a Transfer received movement in the destination store's stock. You see it in Stock > Inventory (Viewing stock levels and movements).
The discrepancy enters no stock: the quantity sent has already left the source store. If the missing goods come back to the source, adjust its stock.
Troubleshooting
"This step is no longer allowed: the document already changed status (already received, sent, closed or cancelled). Nothing was written a second time."
Someone sent, received or cancelled the transfer before you. Nothing is counted twice: reopen the transfer to see its status.
"The document changed since it was read: nothing was written."
The transfer was modified on another screen while you were reading it. The screen reads it again: check it, then start over.
"Choose a destination store different from the source store"
The source and the destination are the same store. Change the destination.