Getting started: your customer list
- For
- Administrator
- Where
- Back office, Web register
- Permission
- Manage customers, Configure the loyalty program, Confirm migrated balances, Sell at the register
- Checked on
The customer list keeps one record per customer: their name, their contact details, their loyalty points and their balances. A sale does not need a customer, but a customer who wants their points, their receipt by email or an account needs their record. This guide gives the recommended order to set up the list; each step points to the guide that details it.
Before you start
A customer record holds personal information. Only keep what is useful, and read Customers' personal information and Quebec Law 25 before filling in your first records.
Adding the first records
Open Customers > Customer records.

Click Add a customer.
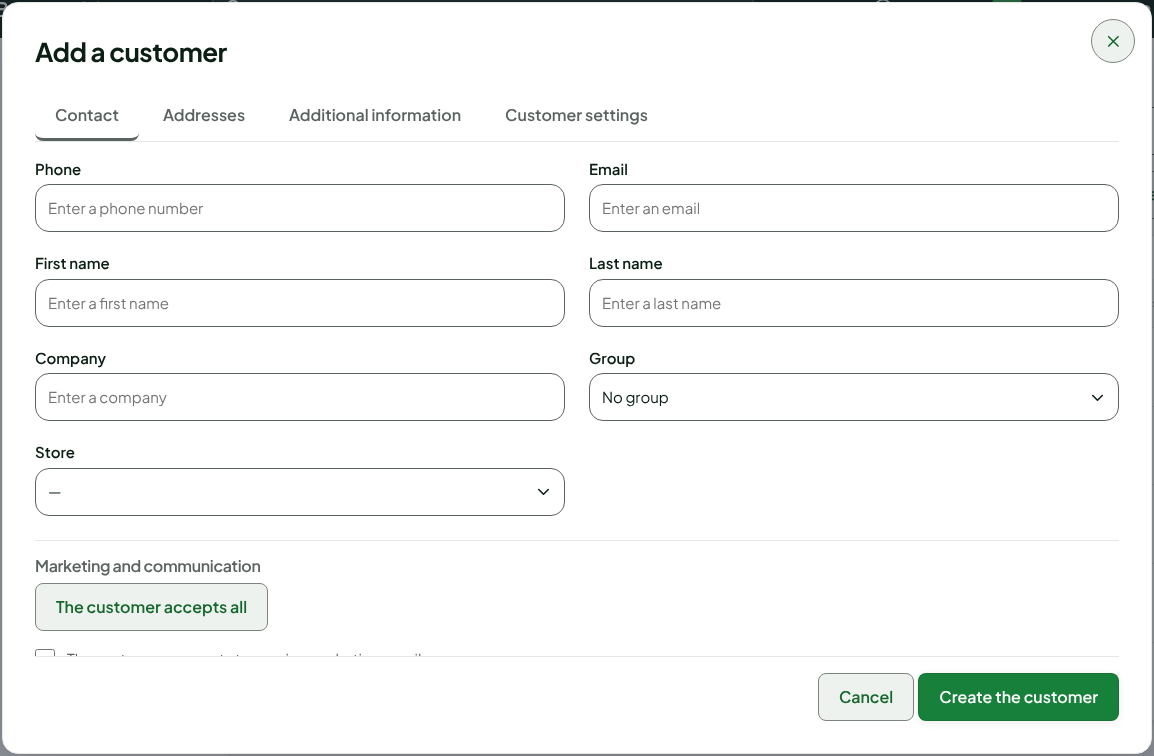
Fill in the customer's contact details, then click Create the customer.
The screen shows "Customer added." The guide: Adding, editing, and anonymizing customers. A record is never deleted: it is anonymized, and that is final.
Creating customer groups
Groups bring together customers treated the same way, such as contractors or members. They are used by price lists. Create them before placing customers in them.
Open Customers > Customer groups.
Click Create a group.

The guide: Managing customer groups.
Setting up the loyalty program
If you reward your customers with points, set up the program once for the whole business.
Open Settings > Loyalty program.

Set what a sale earns in points and what a point is worth.
The guides: Understanding the loyalty program and Setting up the loyalty program.
Confirming balances migrated from your former system
If you are leaving another point-of-sale system, your customers' store credit balances are migrated into Braavu POS. A balance above $1,000 waits for your decision before it can be used.
Open Customers > Migrated balances to confirm.

Confirm, lower or refuse each balance.
The guide: Confirming balances migrated from a former system.
Creating records at the register
The list also fills up at the counter: the web register creates a new customer's record without leaving the sale.
Open Sell > Sell, then click in the Add a customer field, at the top of the cart.
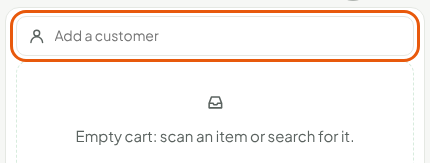
Type the customer's name, phone, email or code. If they are not found, click the line that adds them as a new customer.
The guides: Adding a customer to a sale and Creating a customer at the register.