Checklist: setting up your account and settings
- For
- Administrator
- Where
- Back office
- Permission
- Manage stores and settings, Manage back-office access, Manage roles, Manage employee records, Manage register PINs
- Checked on
Before the first sale, your business account is set up once: your contact information, sign-in security, your stores and their registers, taxes, payment methods, the receipt and the team. Check off this list in order: each line points to the guide that does the task, step by step.
Before you start
- These settings are made in the back office, with an administrator account.
- Print this page or keep it open next to the back office. Check off a line once you have followed its guide to the end.
- Almost everything is in the Settings menu; the team is in the Team menu.
The business
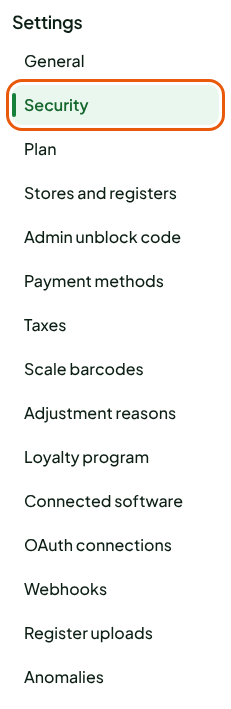
- ☐ Enter the business name, its default time zone and its contact information, in Settings > General: Setting up your business's general information.
- ☐ Choose the language of the back office, and the register language of each employee: Changing the language.
Account security
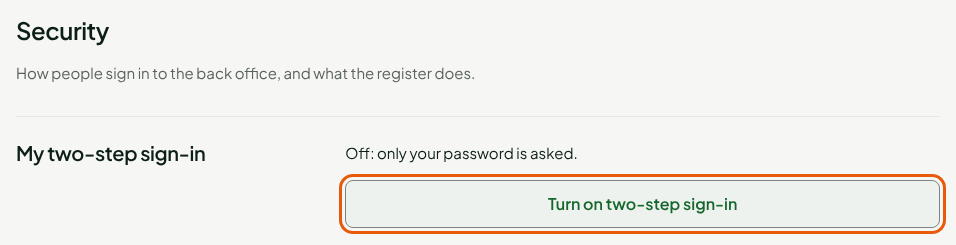
- ☐ Turn on your own two-step sign-in in Settings > Security, then keep your backup codes in a safe place: Setting up account security.
- ☐ Choose, for each role that enters the back office, whether the app code is asked at sign-in: same guide.
- ☐ Go over the basic rules with the team: Following security best practices.
Stores and registers
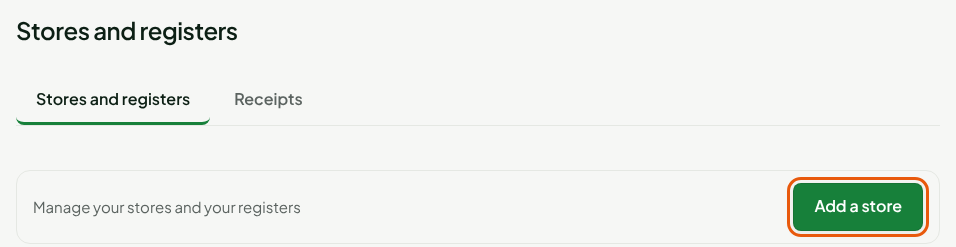
- ☐ Create one store per address, in Settings > Stores and registers: Adding or editing a store.
- ☐ Enter the tax registration numbers (GST, QST…) in Settings > Stores and registers: the General page only lists them, and its Edit the registration numbers link leads there. See the "Registration numbers" section of Setting up your business's general information.
- ☐ Check each store's local time: it sets the start and end of its days. Setting a store's local time.
- ☐ Add one register per counter: Adding a register to a store.
- ☐ Create the receipt template and choose it for each store: Setting up the receipt template.
Taxes and payments
- ☐ Add your taxes, their rates and the product tax classes, in Settings > Taxes: Setting up taxes.
- ☐ Check the taxes of each store: Setting up a store's tax.
A new store applies no tax until you have checked its taxes. Set up taxes before its first sale: a paid sale can no longer be changed.

- ☐ Add and order the payment methods your registers offer, in Settings > Payment methods: Setting up payment methods.
- ☐ If a scale prints price or weight labels: Setting up scale barcodes.
- ☐ Review the list of reasons offered when stock is adjusted: Setting up adjustment reasons.
The team

- ☐ Check the built-in roles Caissier and Gérant (their French names stay on the screen), and create a role only if neither fits, in Team > Roles: Creating roles and permissions.
- ☐ Create each employee's record, with their roles and stores, in Team > Employees: Adding an employee.
- ☐ Give each employee who sells a personal PIN: Setting or resetting an employee's PIN.
Give each person the role that fits their work most closely. The administrator has every permission: keep that role for the people who set up the business (Understanding the administrator's rights).