Finding your way around the Sell screen
- For
- Cashier
- Where
- Web register
- Permission
- Sell at the register
- Checked on
The Sell screen is where you spend your day: you look up items, fill the cart and go to payment. This guide walks through it, area by area, so you know where everything is. To take a sale from start to finish, see Making a sale.
Before you start
- Your role must allow selling (permission Sell at the register).
- You have chosen your register and it is open. With no register chosen, the screen first asks which one to take.
Opening the Sell screen
Open Sell > Sell.
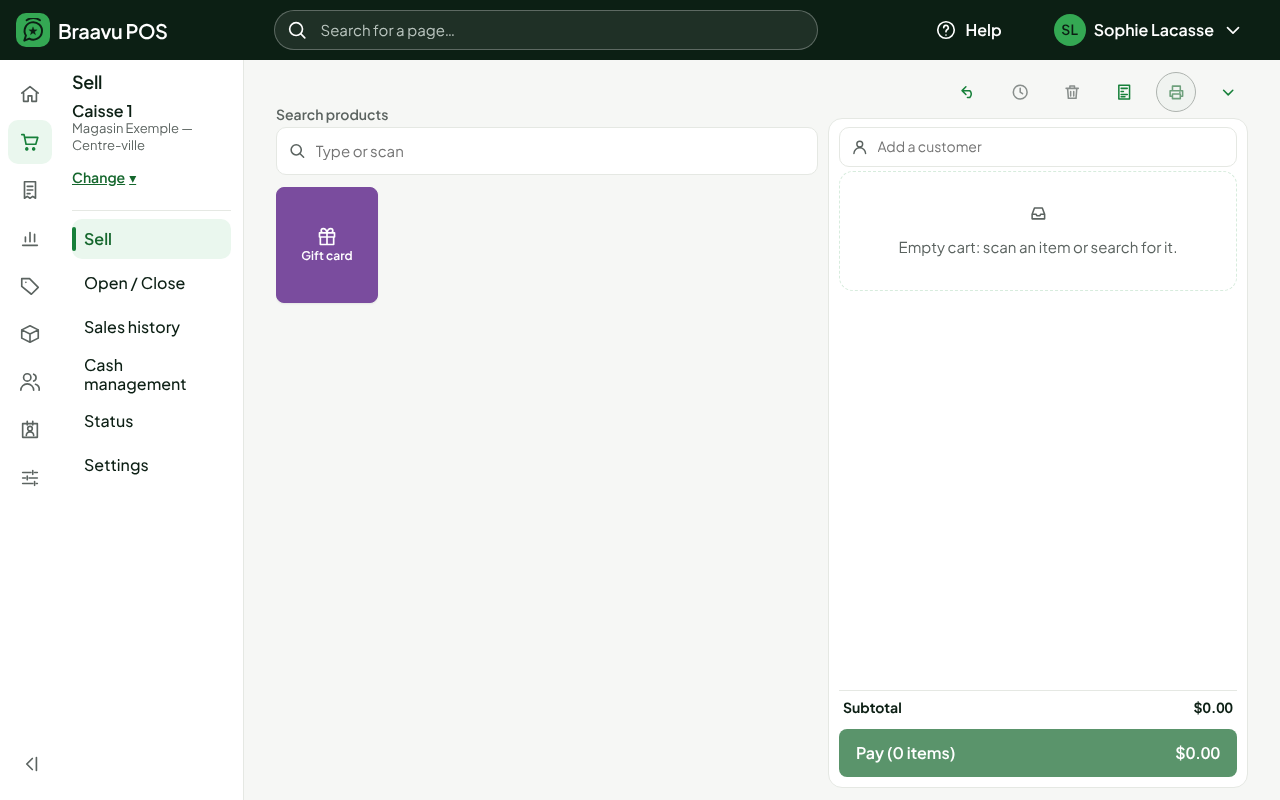
The screen has three parts: the Sell submenu on the left, the products area in the middle and the cart on the right.
The register header and the Sell submenu
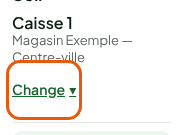
At the top of the submenu, the header tells you which register you are selling on: the register name, then the store name. Click Change to take another register.
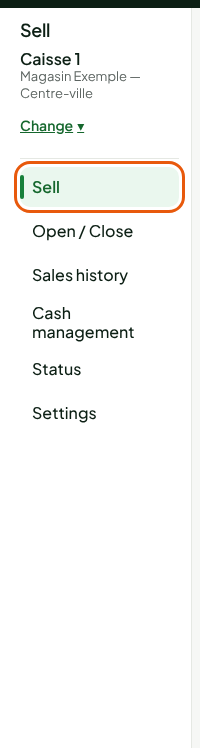
Below the header, the Sell submenu leads to the register screens:
- Sell: the Sell screen, the one in this guide.
- Open / Close: opening the register with its cash float, and closing it.
- Sales history: the sales already made, to find them or process a return.
- Cash management: the float, cash in and cash out of the open session.
- Status: the state of the register and its devices (server connection, printer, drawer).
- Settings: the store's quick keys. This entry is only offered to roles that manage the catalog.
Search and quick keys
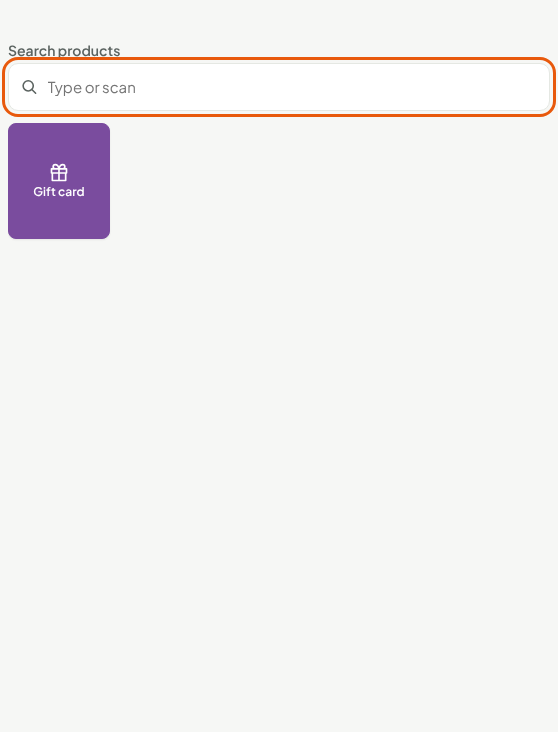
In the middle, the Search products field takes a scanned barcode or an item name that you type. Below the field, the quick keys are tiles: one click on a tile puts the item in the cart. The Gift card tile opens the sale of a gift card.
The cart
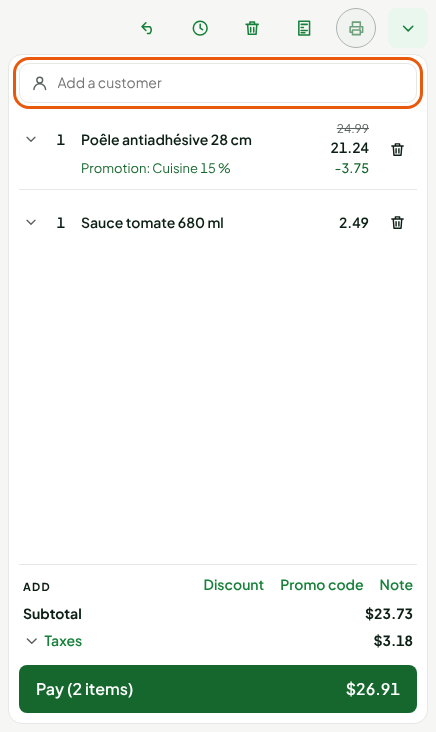
On the right, the cart shows one line per item, with its quantity, name and price. Click a line to expand it: you change the quantity, the price or the discount there. The trash can at the end of the line removes the item. A promotion that applies shows in green under the name, with the original price crossed out.
Above the cart, a row of quick buttons, from left to right:
- Resume a sale: the list of sales put on hold;
- Put on hold: sets the sale aside without paying it;
- Empty the cart: removes everything, after a confirmation;
- Orders: special orders and web orders;
- Reprint the last receipt: greyed out until a sale is finished on this register;
- More actions…: a menu.

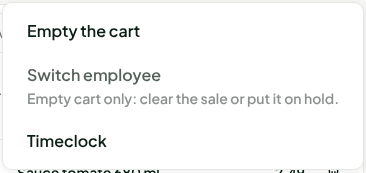
The More actions… menu offers Empty the cart, Switch employee (only when the cart is empty) and Timeclock. When a sale of the session can be voided, Void a sale is added at the top.
The customer
The Add a customer field, at the top of the cart, attaches a customer to the sale (Adding a customer to a sale). It is only offered to roles that manage customers.
The bottom of the cart
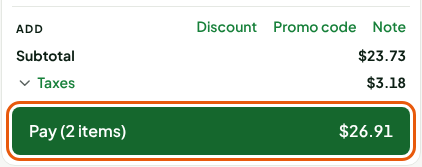
Under the lines, three links open a small window: Discount, Promo code and Note. Then come the Subtotal, the Taxes (click to see each tax) and the Pay button, which shows the number of items and the total to collect.
Taxes come from the store's settings: you do not choose them at the register.