Managing customer groups
- For
- Manager, Administrator
- Where
- Back office
- Permission
- Manage customers
- Checked on
A customer group brings together customers who are treated the same way: contractors, employees, members. Groups are used for price lists. Create a group once, put records in it, then find its customers with one click.
Before you start
- Your role must have the Manage customers permission.
- Each store already has its own group, created with it ("Group for store…"). Its name follows the store's, and it cannot be archived while the store is active.
A group cannot be deleted: it is archived. An archived group is no longer offered for a record, but its name stays in the list and the customers who were in it keep it.
Creating a group
To add a group:
Open Customers > Customer groups.

Click Create a group.
Type the group's Name, at most 100 characters.
Click Save.
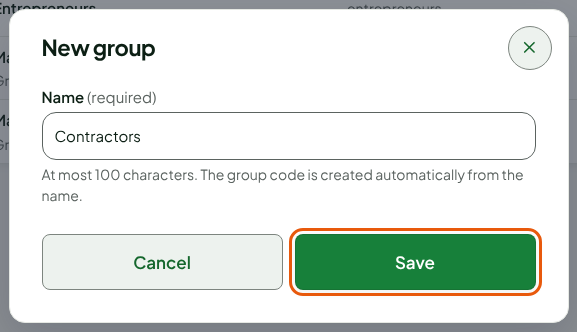
The screen shows "Group Contractors created." and the group is added to the list. Its Code is created automatically from the name: you do not type it and it no longer changes.

Putting a customer in a group
A customer is in one group, or in none. To place them:
Open Customers > Customer records and search for the customer in Search for customers.
Click the pencil at the end of their row.
In Group, choose the group you want.
Click Save.
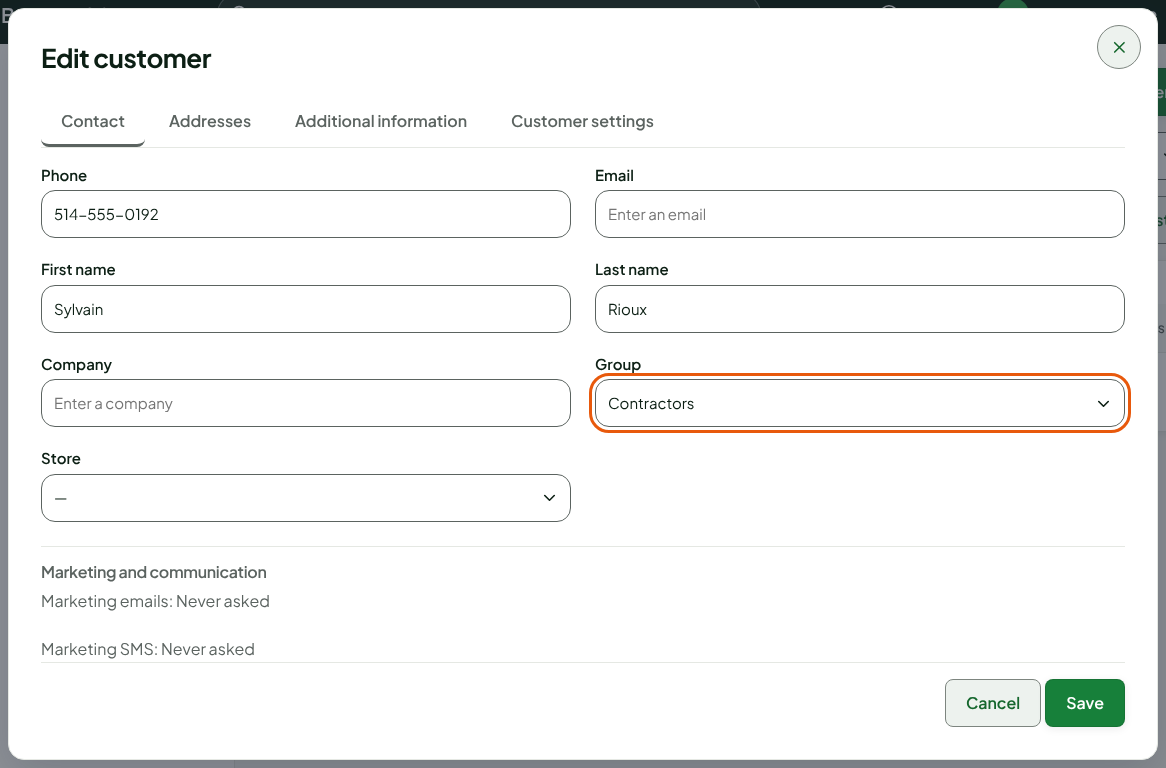
You can also choose the group when you create the record (guide "Adding, editing, and anonymizing customers"). At the web register, a record you create gets the store's group by default.
Finding a group's customers
In the group list, the Customers column counts the group's active records. That number is a link.
Open Customers > Customer groups.
Click the number on the group's row.

The customer record list opens, already filtered on that group: Showing 2 customers. To go back to the whole list, click Clear all.
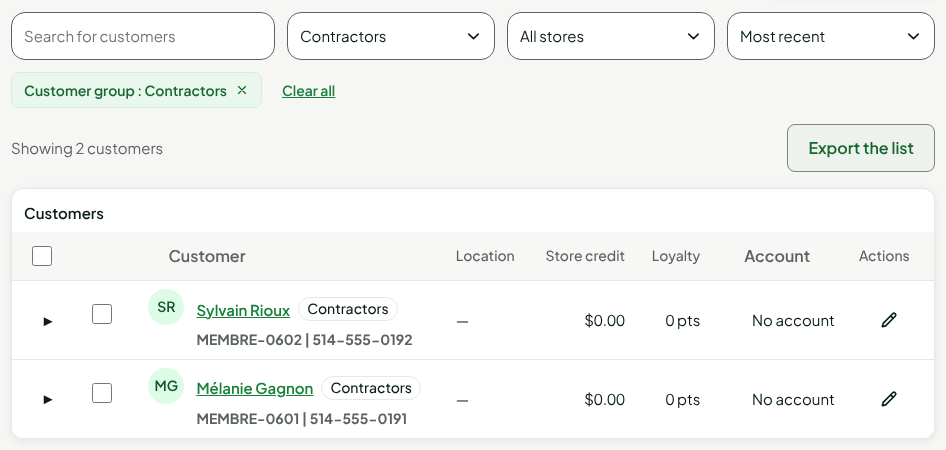
In this list, Export the list produces the file of the group's customers (guide "Exporting the customer list").
Renaming or archiving a group
To change a group:
Open Customers > Customer groups.
Click the pencil on the group's row, or the row itself.
To rename, change the Name and click Save.
To archive, click Archive group.
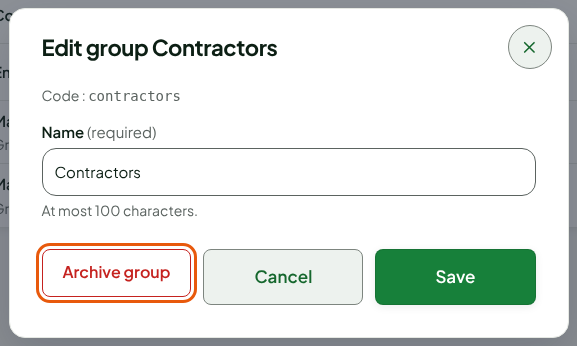
In the Archive this group? window, click Archive group.
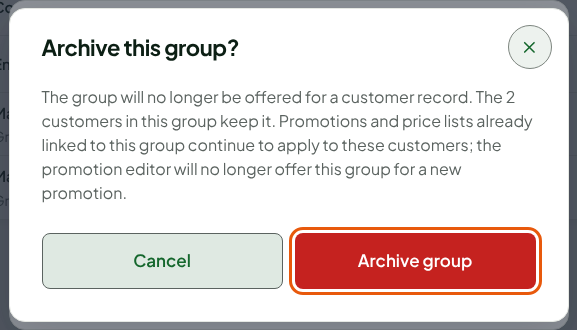
The row changes to Archived.

To put a group back in service, reopen it and click Reactivate group.
Promotions and price lists already linked to an archived group continue to apply to the customers who keep it. The promotion editor no longer offers this group for a new promotion.
Troubleshooting
"The group was changed since it was read: nothing was saved."
Another person changed the group while you were changing it. Click Reload the group, then make your change again.
"An active store’s group cannot be archived."
A store's group follows the store: it can be archived only when the store is no longer active.
"The group name follows the store name."
To rename a store's group, you need the Manage stores and settings permission: renaming the group also renames the store.