Adding a register to a store
- For
- Administrator
- Where
- Back office
- Permission
- Manage stores and settings
- Checked on
A register is a point of sale in a store: "Caisse 1", "Caisse 2"… Add one when the store opens one more counter. Each register has its own name, its receipt prefix and its end-of-sale settings.
Before you start
- Your role needs the permission Manage stores and settings.
- The store must exist: see Adding or editing a store.
The register is the point of sale; the workstation is the computer the register is installed on. This guide creates the register; to install the register on a workstation, see Installing the register on a workstation and enrolling it.
Adding a register
Open Settings > Stores and registers, then click the store's pencil, in the Edit column.
In the Registers section, click + Add a register.

In Name of the new register, type the name, for example
Caisse 1.
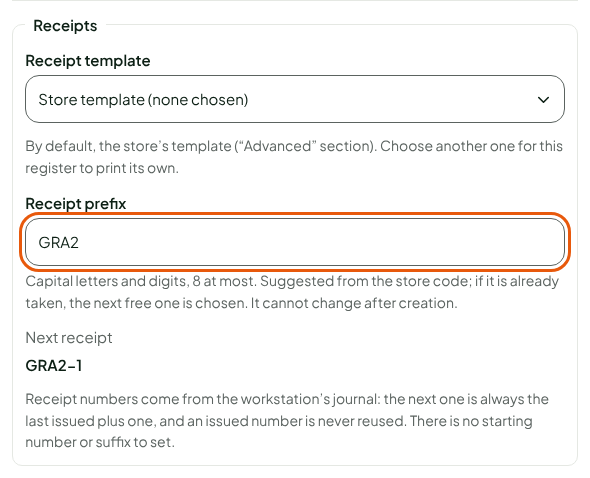
In Receipts, choose the Receipt template and the Receipt prefix. By default, the register prints the store's template. The prefix is suggested from the store code; type your own if you prefer, in capitals and digits, 8 characters at most.
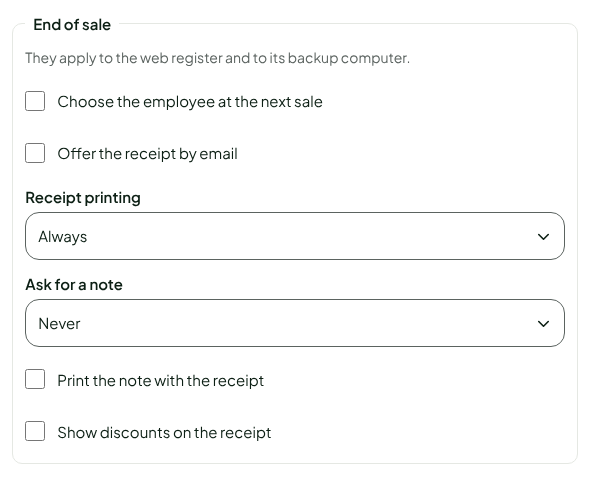
In End of sale, look at the register settings: choose the employee at the next sale, offer the receipt by email, receipt printing, note asked, discounts on the receipt. The starting values suit most registers.
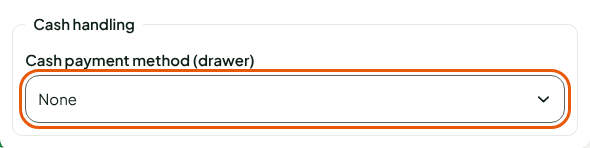
In Cash handling, choose the Cash payment method (drawer) if needed. It names the payment that opens the cash drawer of the installed register; left at None, every cash payment opens it.
Click Save, at the bottom of the page.
The register is created with the rest of the page. The screen shows "Changes saved."
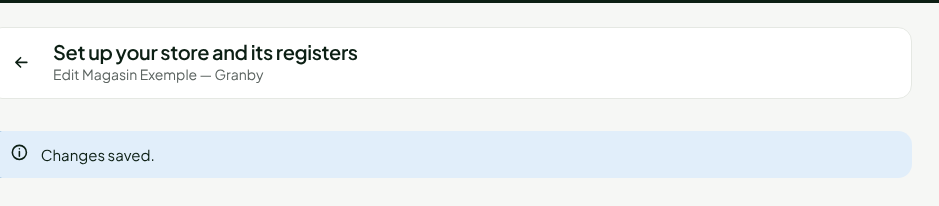
The register appears in the Registers section, with its prefix and the number of its next receipt.

The receipt prefix no longer changes after the register is created. Receipt numbers come from the workstation's journal: the next one is always the last one issued plus one, and an issued number is never reused. So there is no starting number or suffix to set.
The End of sale and Cash handling settings apply to the web register and to its backup computer, that is the installed register. To change them later, unfold the register with the arrow left of its name, then click Save.
Troubleshooting
"This receipt prefix is already in use…"
Another register already has this prefix. Choose another one, or empty the field: the server suggests a free one.
"Save the store first: registers are added afterwards."
The store's record is not created yet. Click Create the store, then add the register.