Setting up taxes
- For
- Administrator
- Where
- Back office
- Permission
- Manage stores and settings
- Checked on
Sales taxes are set up once, on a single screen: your taxes and their rates, the taxes each store charges, and the tax classes that say which products are taxed. The register then works out the taxes on its own, sale by sale. Do this setup before a store's first sale.
Before you start
- Have the name and rate of each tax at hand, for example TPS (GST) 5% and TVQ (QST) 9.975% in Quebec, or HST 13% in Ontario. The software knows no rate in advance: you enter them.
- Each store must have its correct local time, set in Settings > Stores and registers.
A tax change only applies to future sales. Past sales keep the tax they were made with: nothing is rewritten.
Adding your taxes
Add each tax only once, even if several stores charge it.
Open Settings > Taxes.
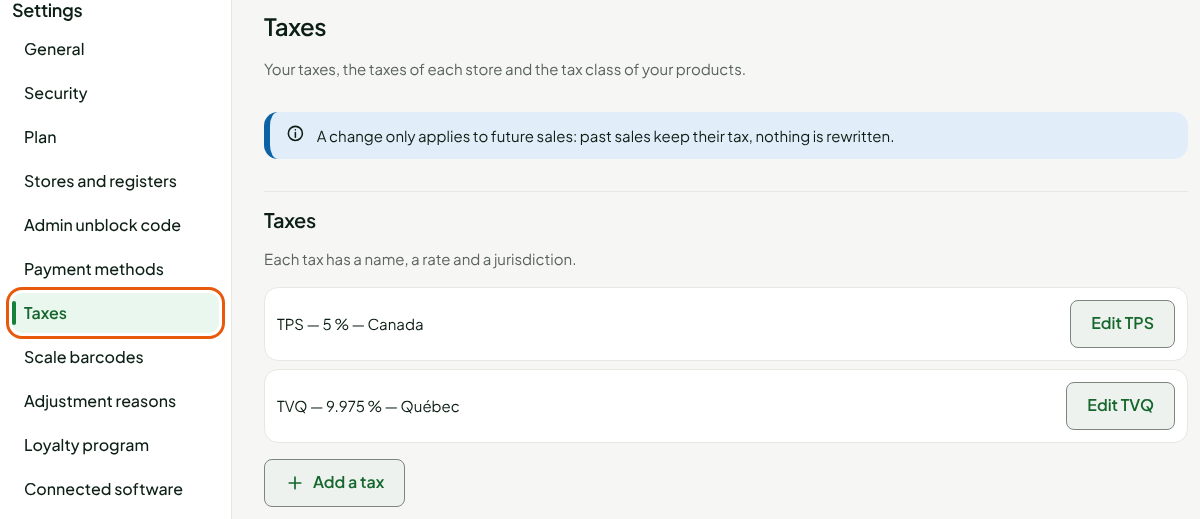
Click Add a tax, under Taxes.
Type the name your customers know in Name, for example
TPS.Type the rate in Rate (%), for example
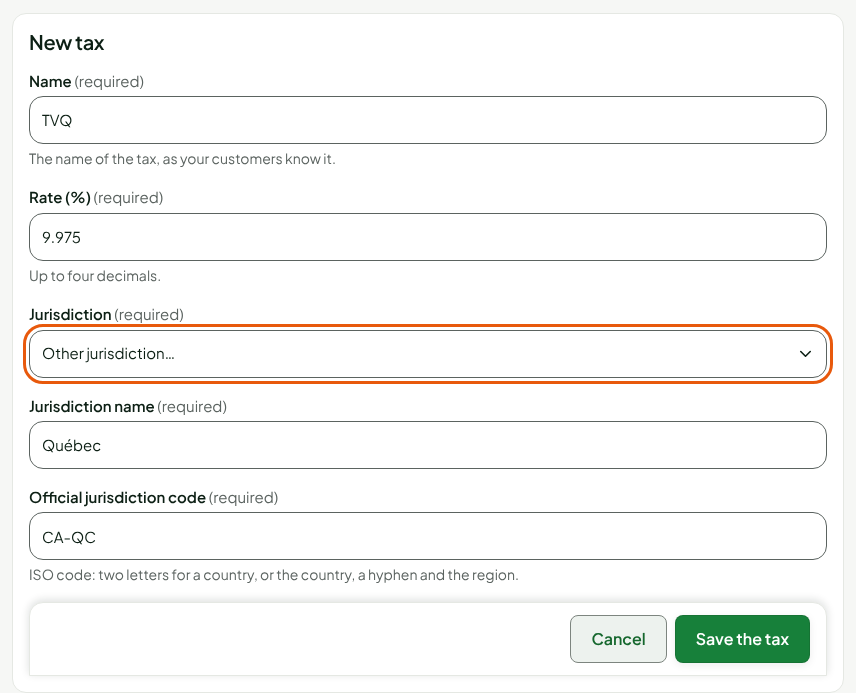
5or9.975.Choose the tax's jurisdiction in Jurisdiction. If it is not in the list, choose Other jurisdiction…, then fill in Jurisdiction name (for example
Québec) and Official jurisdiction code (for exampleCA-QC).Click Save the tax.
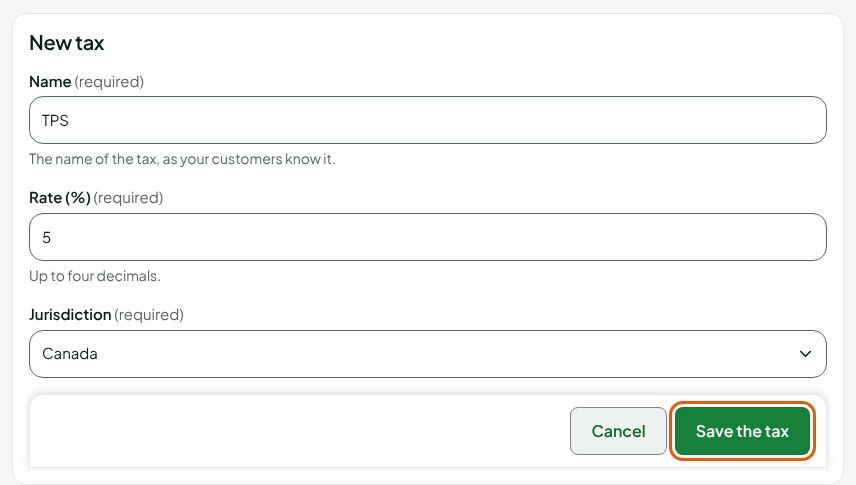
The tax is added to the list, as "TPS — 5 % — Canada", and the screen shows "Tax TPS added. Check it in the stores that charge it." Repeat for each tax. For TVQ, choose Other jurisdiction… in Jurisdiction, then enter Québec and CA-QC:
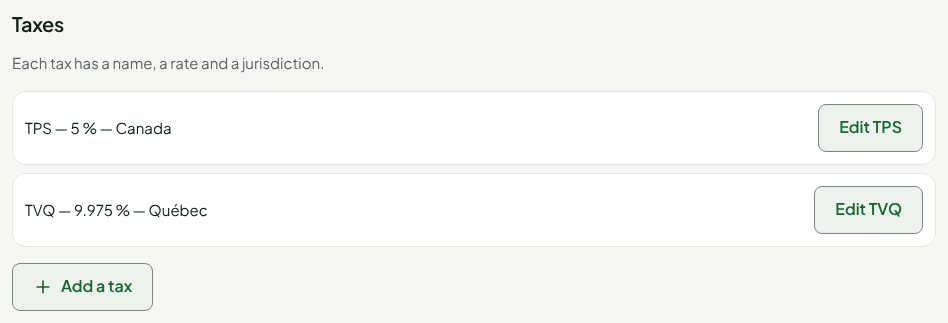
Both taxes appear in the list:
To change a rate later, on a date you choose, see the guide "Changing a tax rate".
For your very first tax, the Jurisdiction list does not exist yet: the screen asks directly for Jurisdiction name and Official jurisdiction code. The code has two letters for a country (CA), or the country, a hyphen and the region (CA-QC).
Adding product tax classes
Each product has a tax class. The class says whether the product takes all the store's taxes, none, or only some. Most businesses have two classes: one for taxable products, one for zero-rated products.
Open Settings > Taxes.
Click Add a tax class, under Product tax classes.
Type the name shown on product pages in Label, for example
Taxable.Choose All the store's taxes, No tax (zero-rated) or Only some taxes in Taxes applied. With Only some taxes, check the taxes you want in Taxes of the class.
Click Save the class.
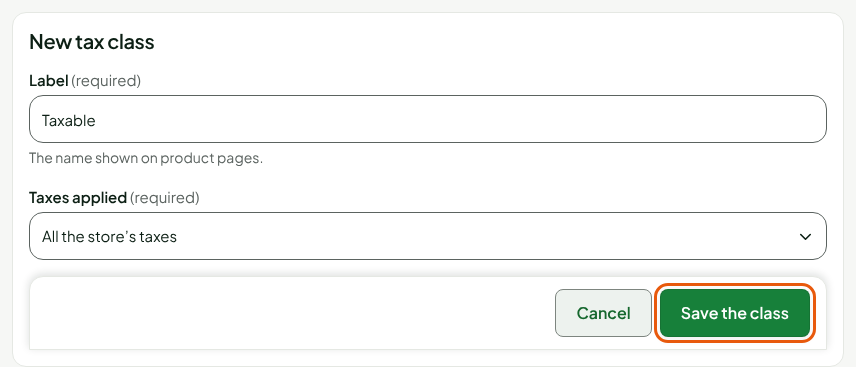
Repeat for each class. A product's class is then chosen on its product page (guide "Adding a product").
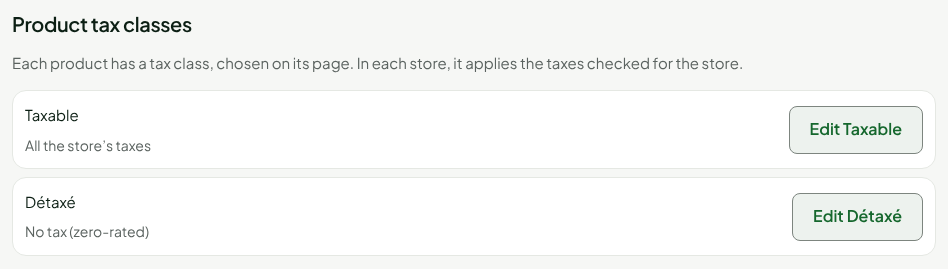
Checking each store's taxes
Open Settings > Taxes.
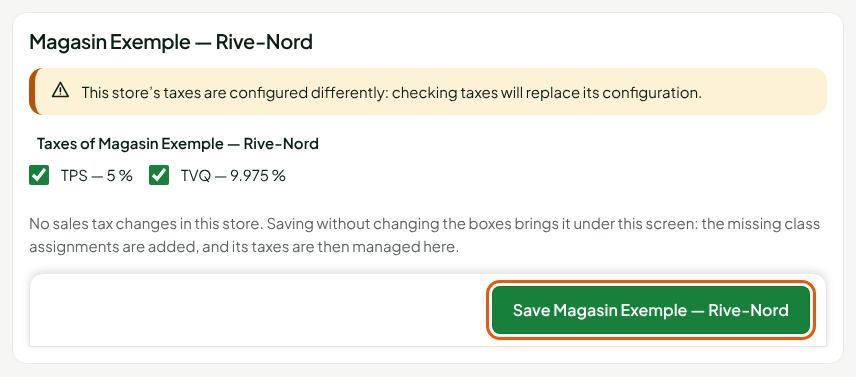
Check the taxes the store charges, in its box under Stores, for example TPS — 5 % and TVQ — 9.975 %.
Click Save followed by the store's name.
The screen shows "Taxes of Magasin Exemple — Rive-Nord saved." and the warning goes away. The store's next sales take these taxes. On the receipt, each tax appears on its own line, with its name.
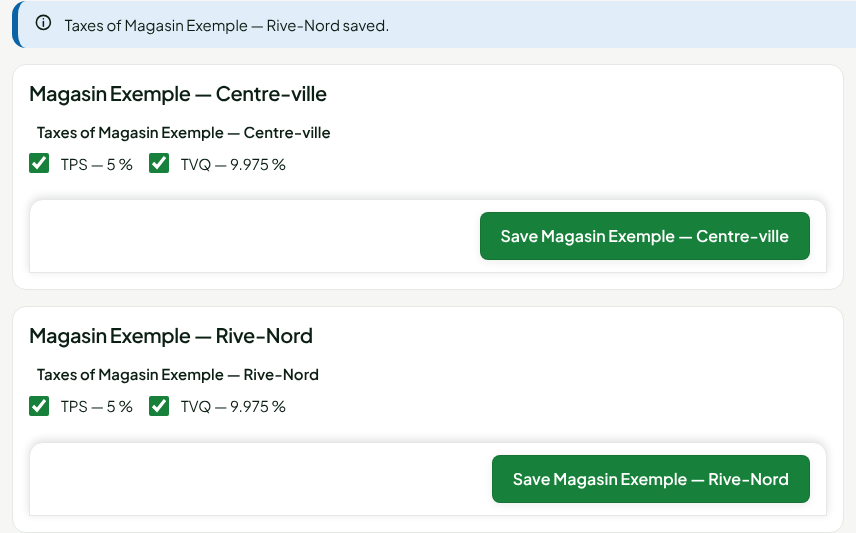
The store's next sales take the saved taxes right away. Check the boxes before saving a store that is already selling.
A store whose taxes were set up before this screen shows the warning seen above, "This store's taxes are configured differently: checking taxes will replace its configuration." For that store only, the screen shows below the boxes what saving will change: What will be replaced: lists the rates that will change. If it says "No sales tax changes in this store", saving without changing the boxes brings the store under this screen without changing its taxes.
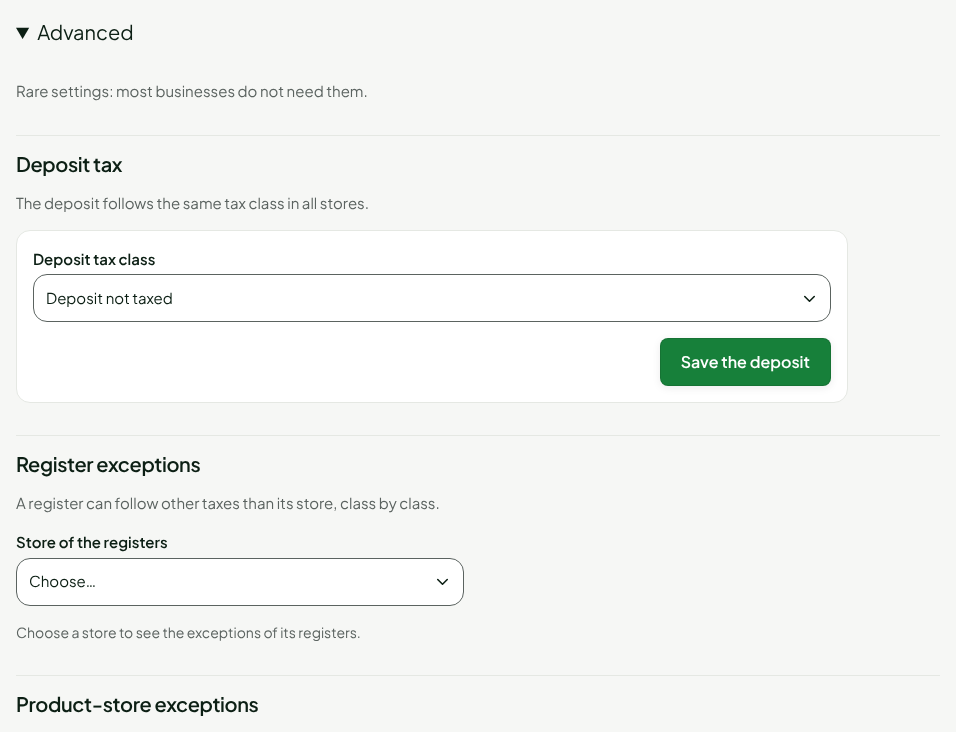
Advanced settings
The Advanced part, folded at the bottom of the screen, holds rare settings: the deposit tax, register exceptions and product-store exceptions. Most businesses do not need them.
Troubleshooting
"Add the tax classes of your products first (below) before saving a store."
No class exists yet. Add at least one class, then save the store.
"Saving refused: … active product(s) without tax in this store"
Some products have no class that gives them a tax in this store. The message names these products: open their product page, choose their tax class, then save the store again.
"The store's local time is unknown"
Set the store's local time in Settings > Stores and registers, then save its taxes again.